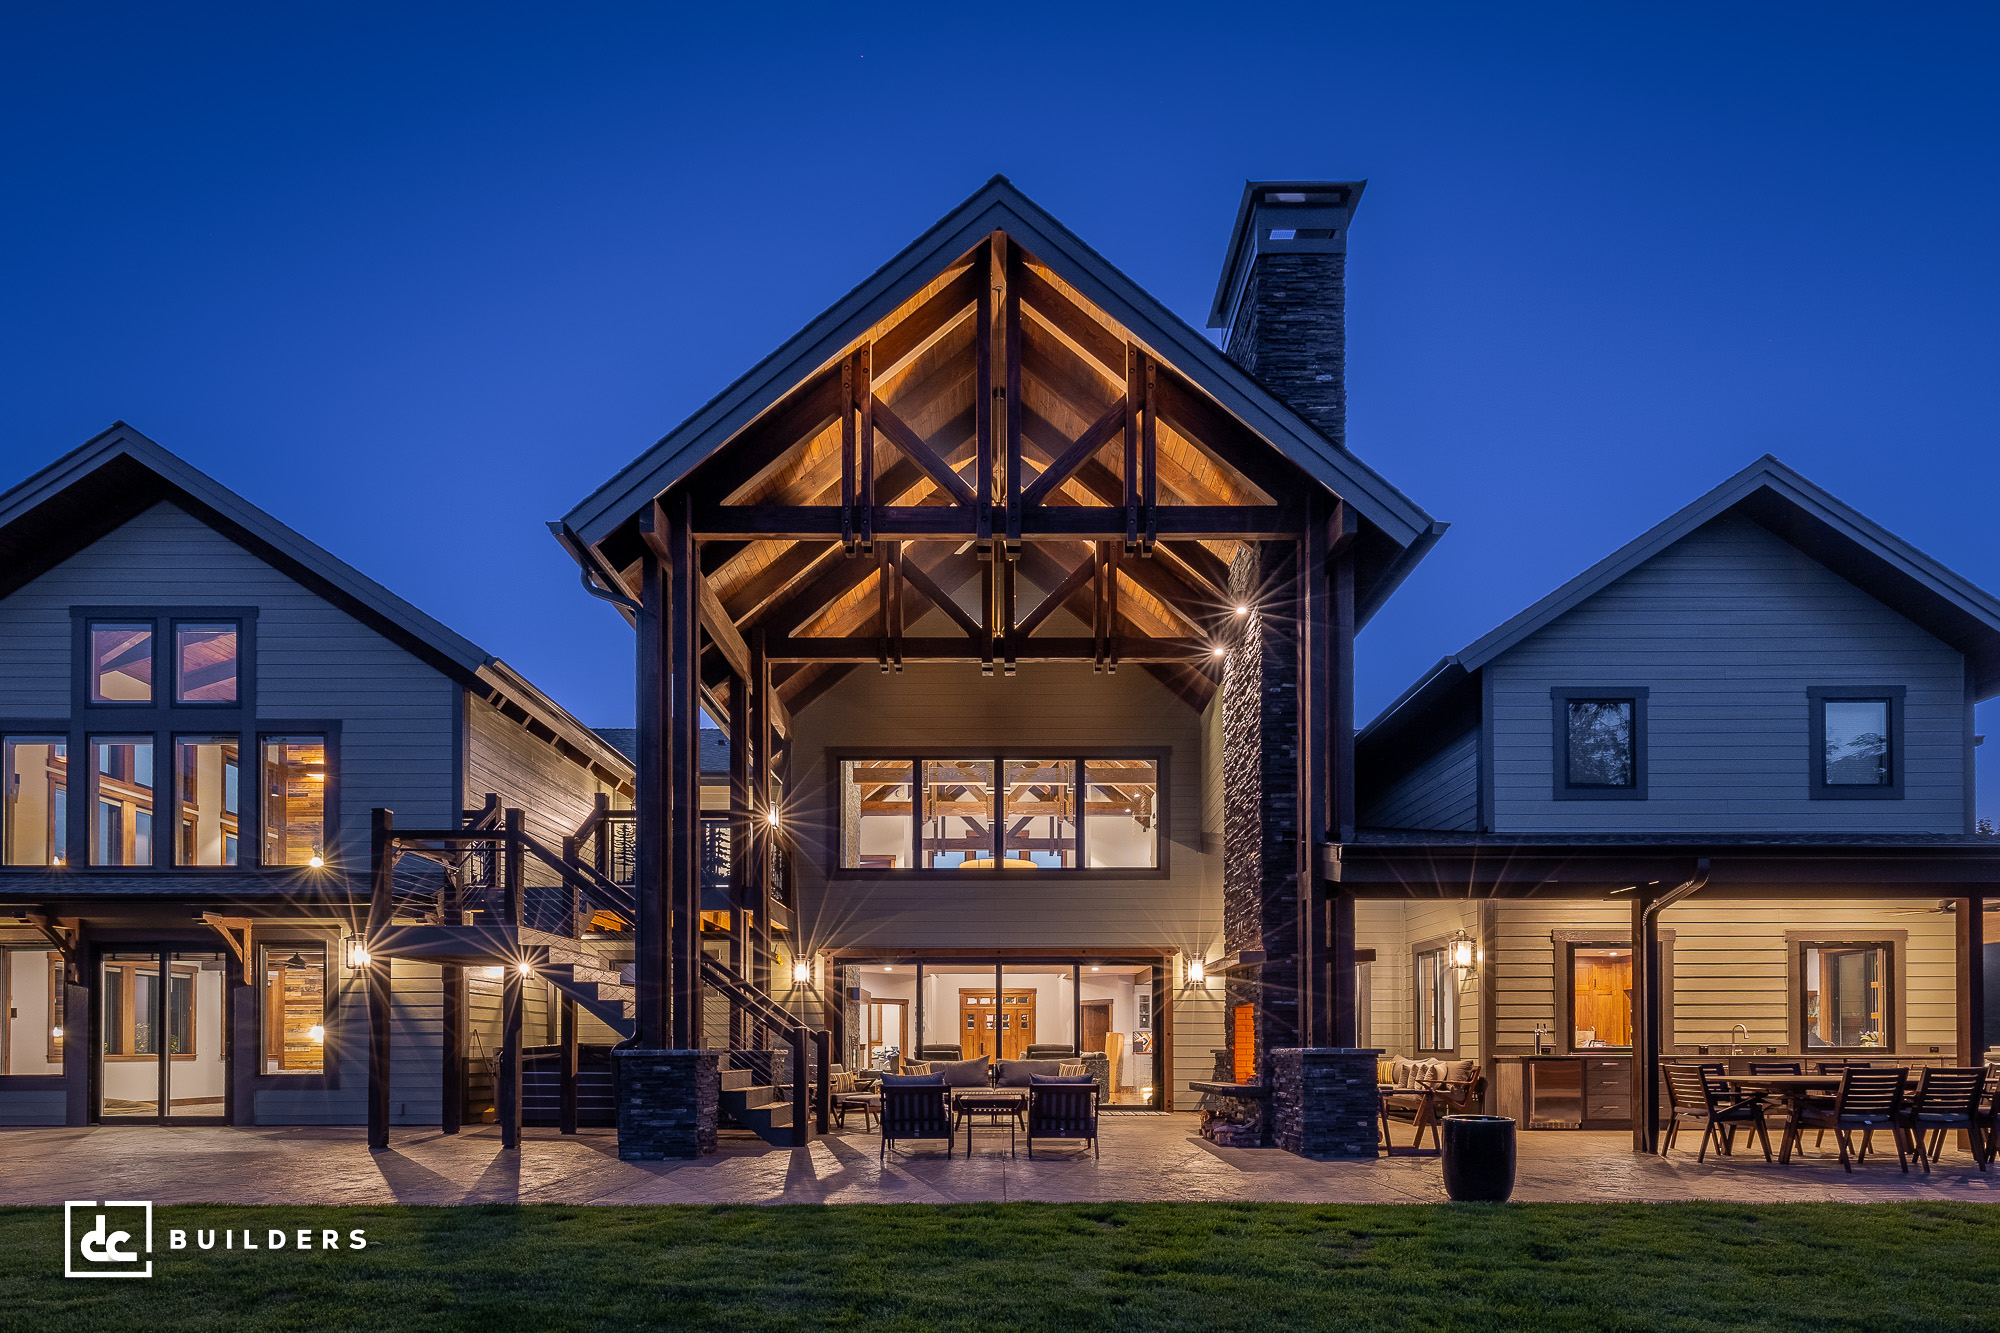
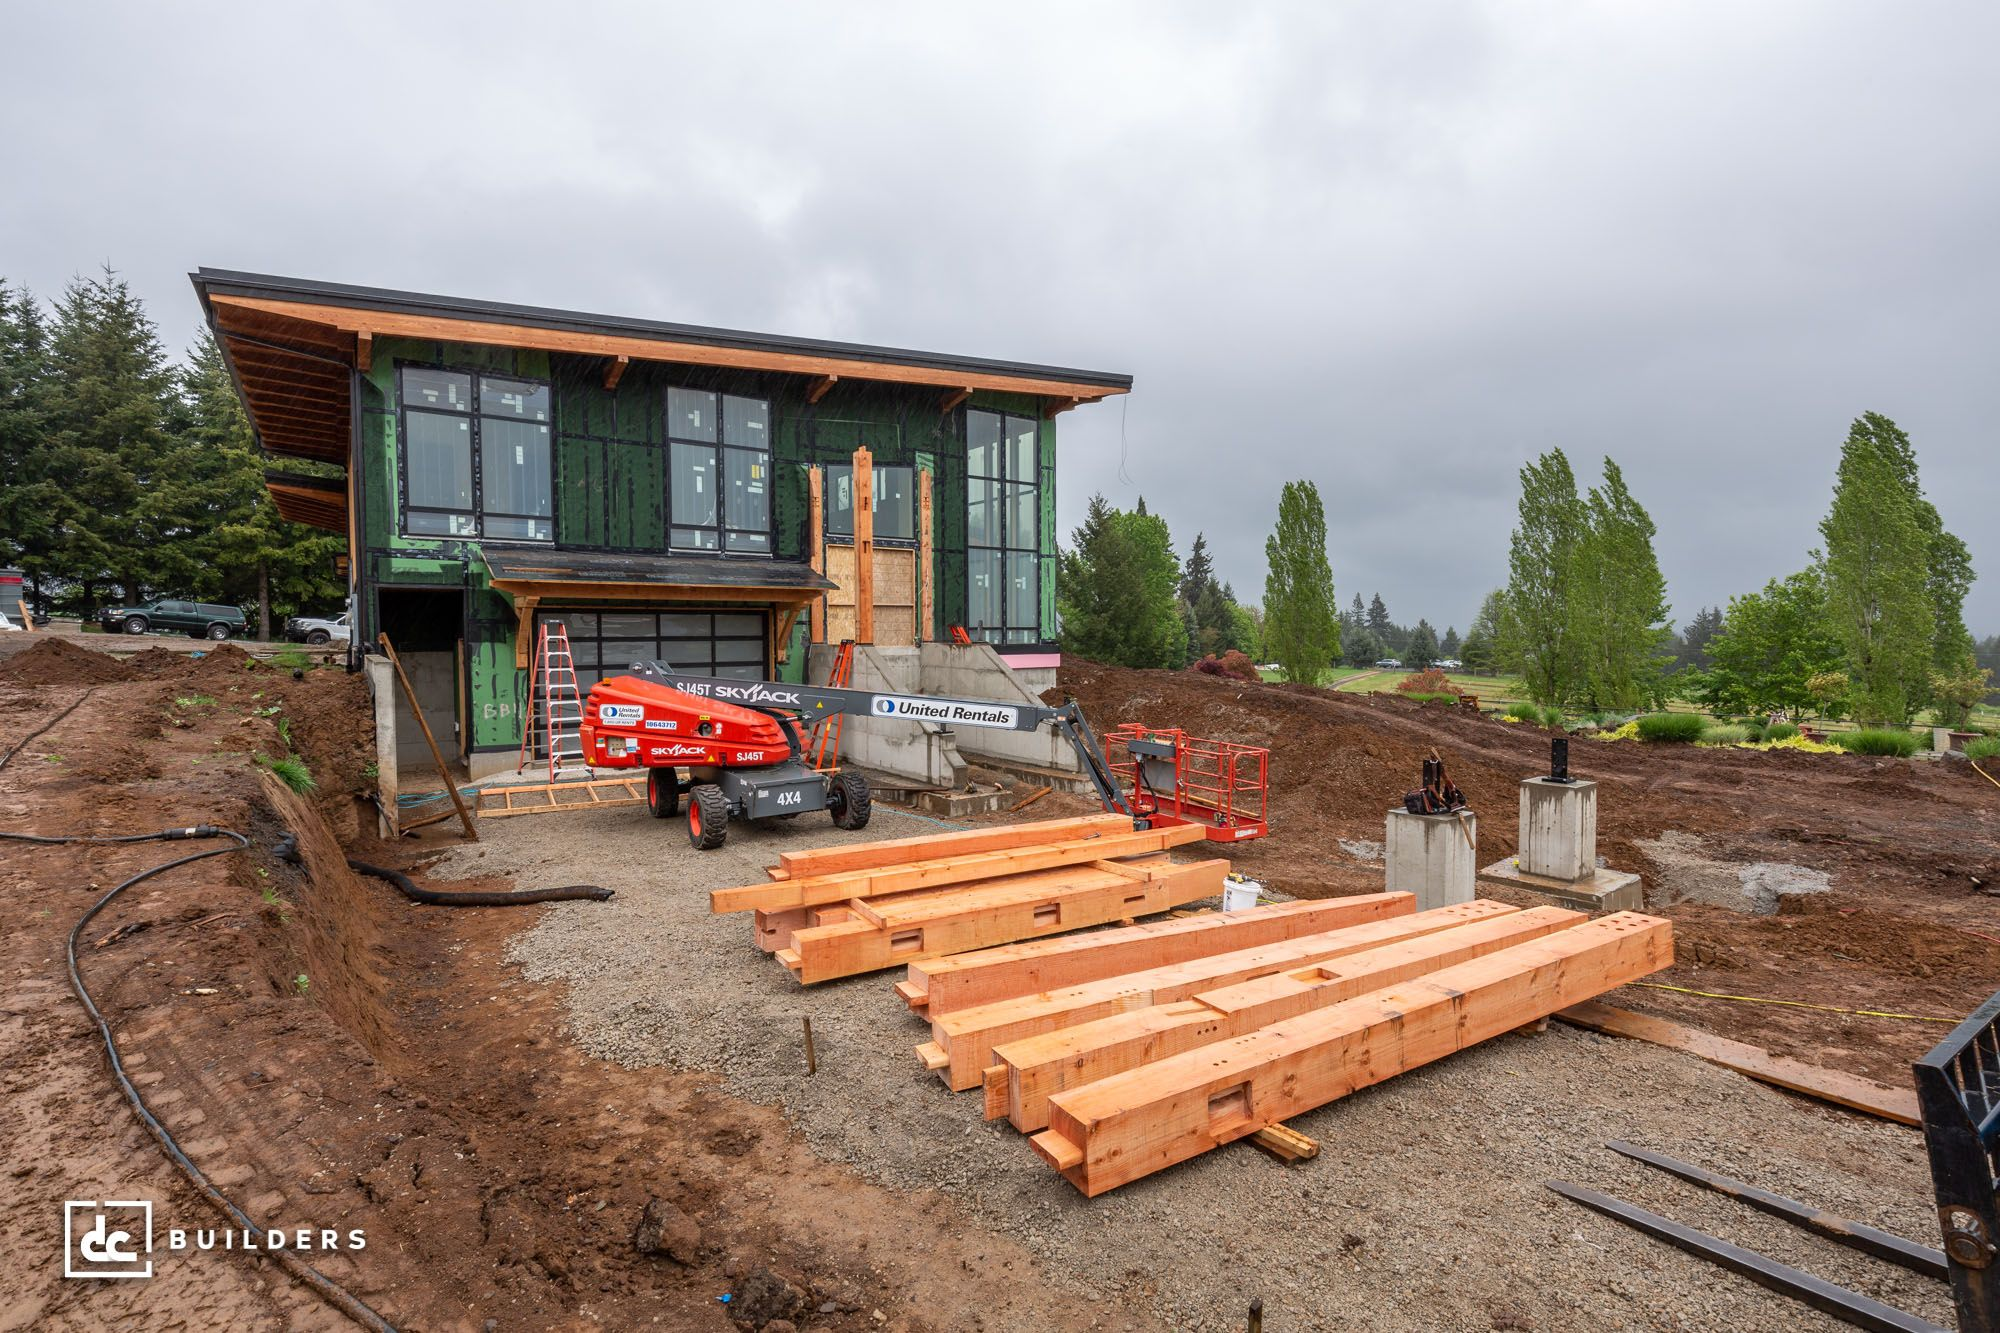
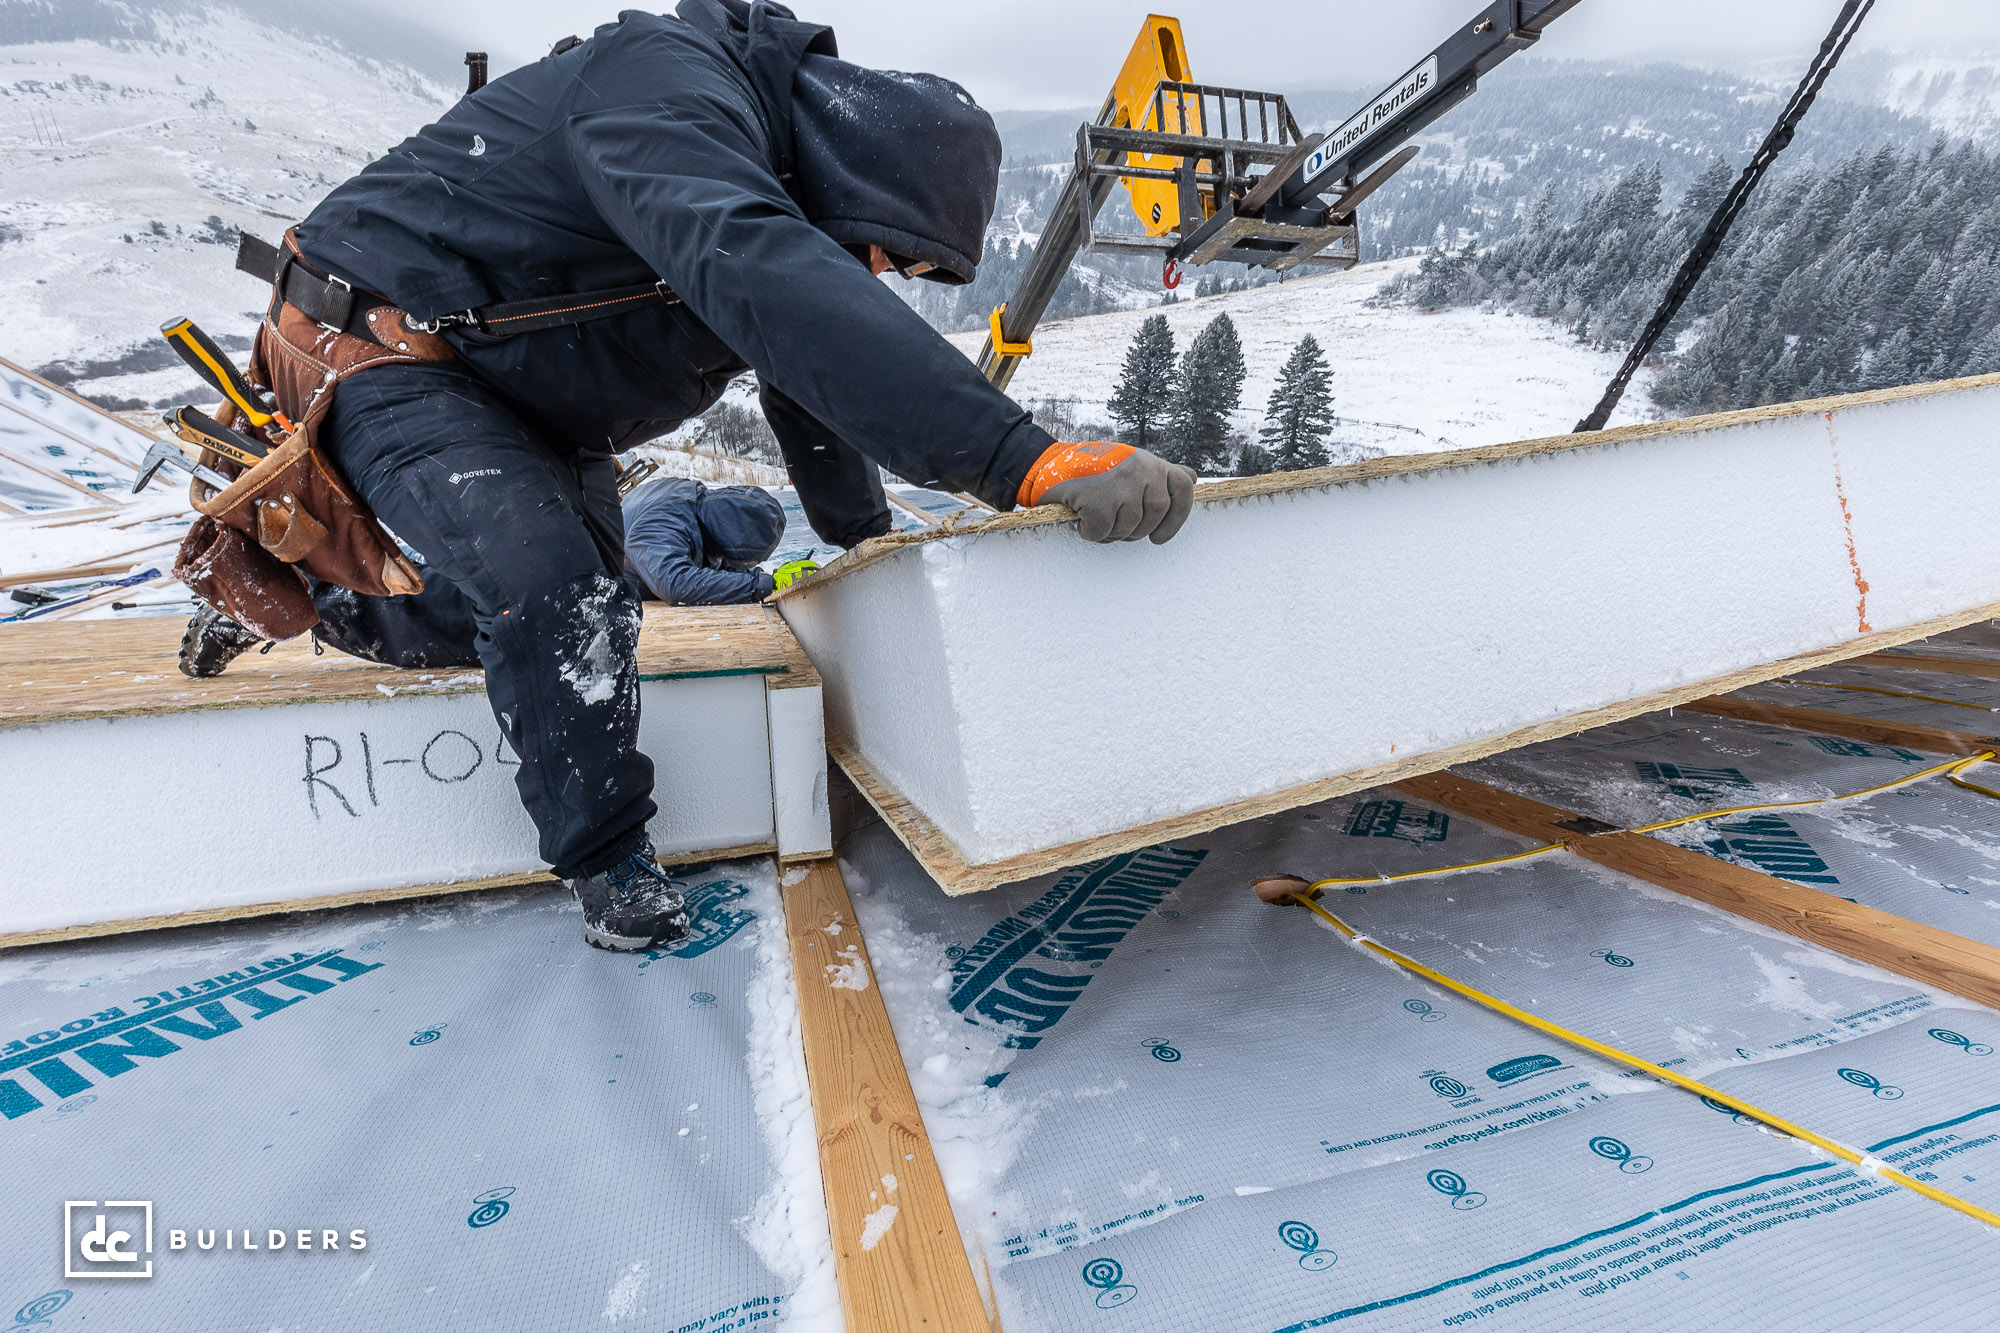
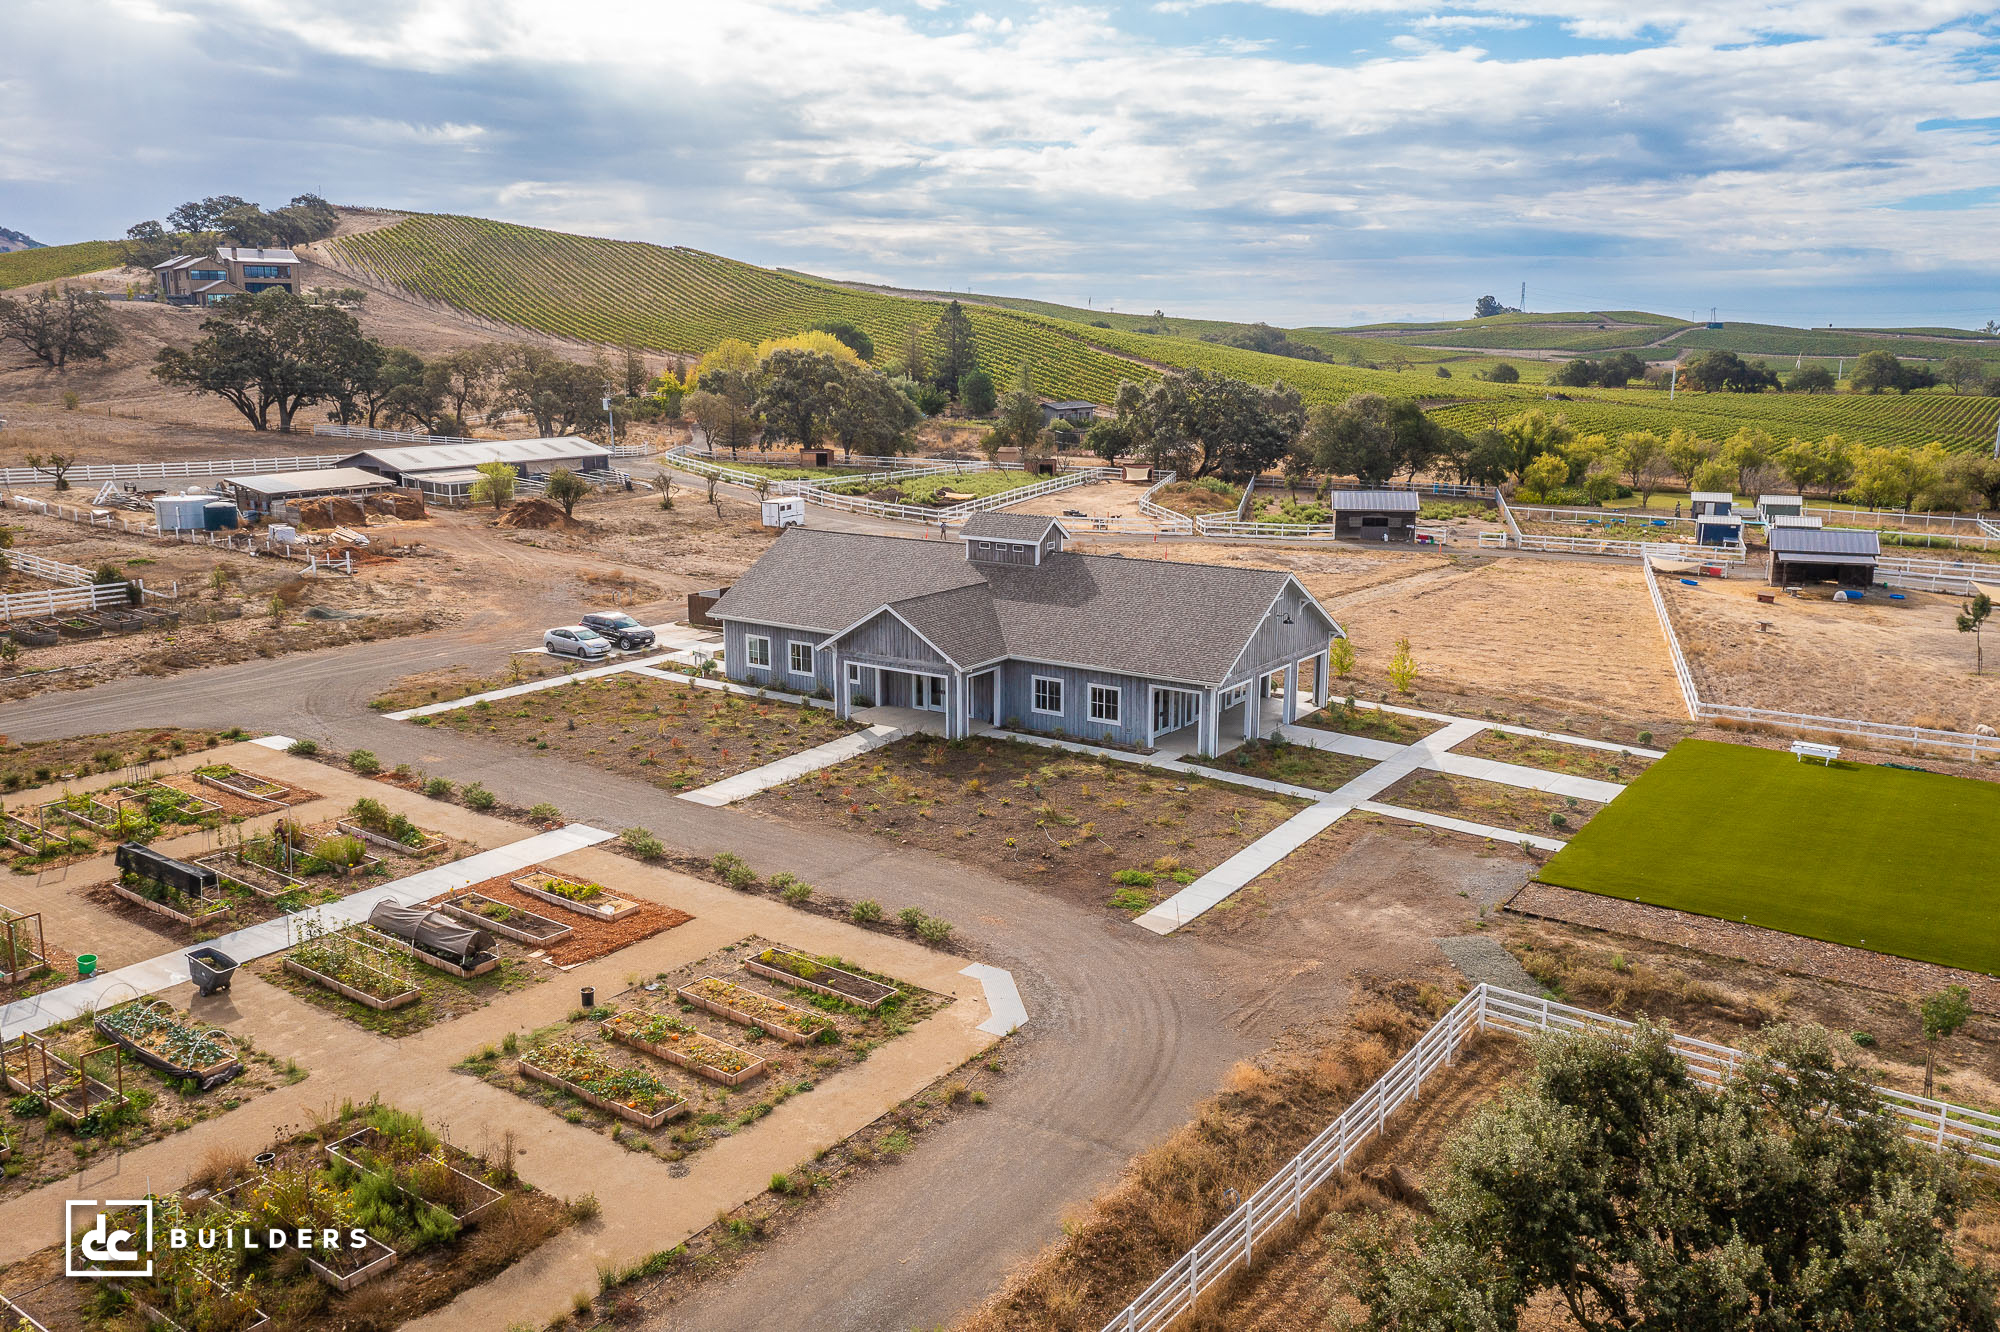
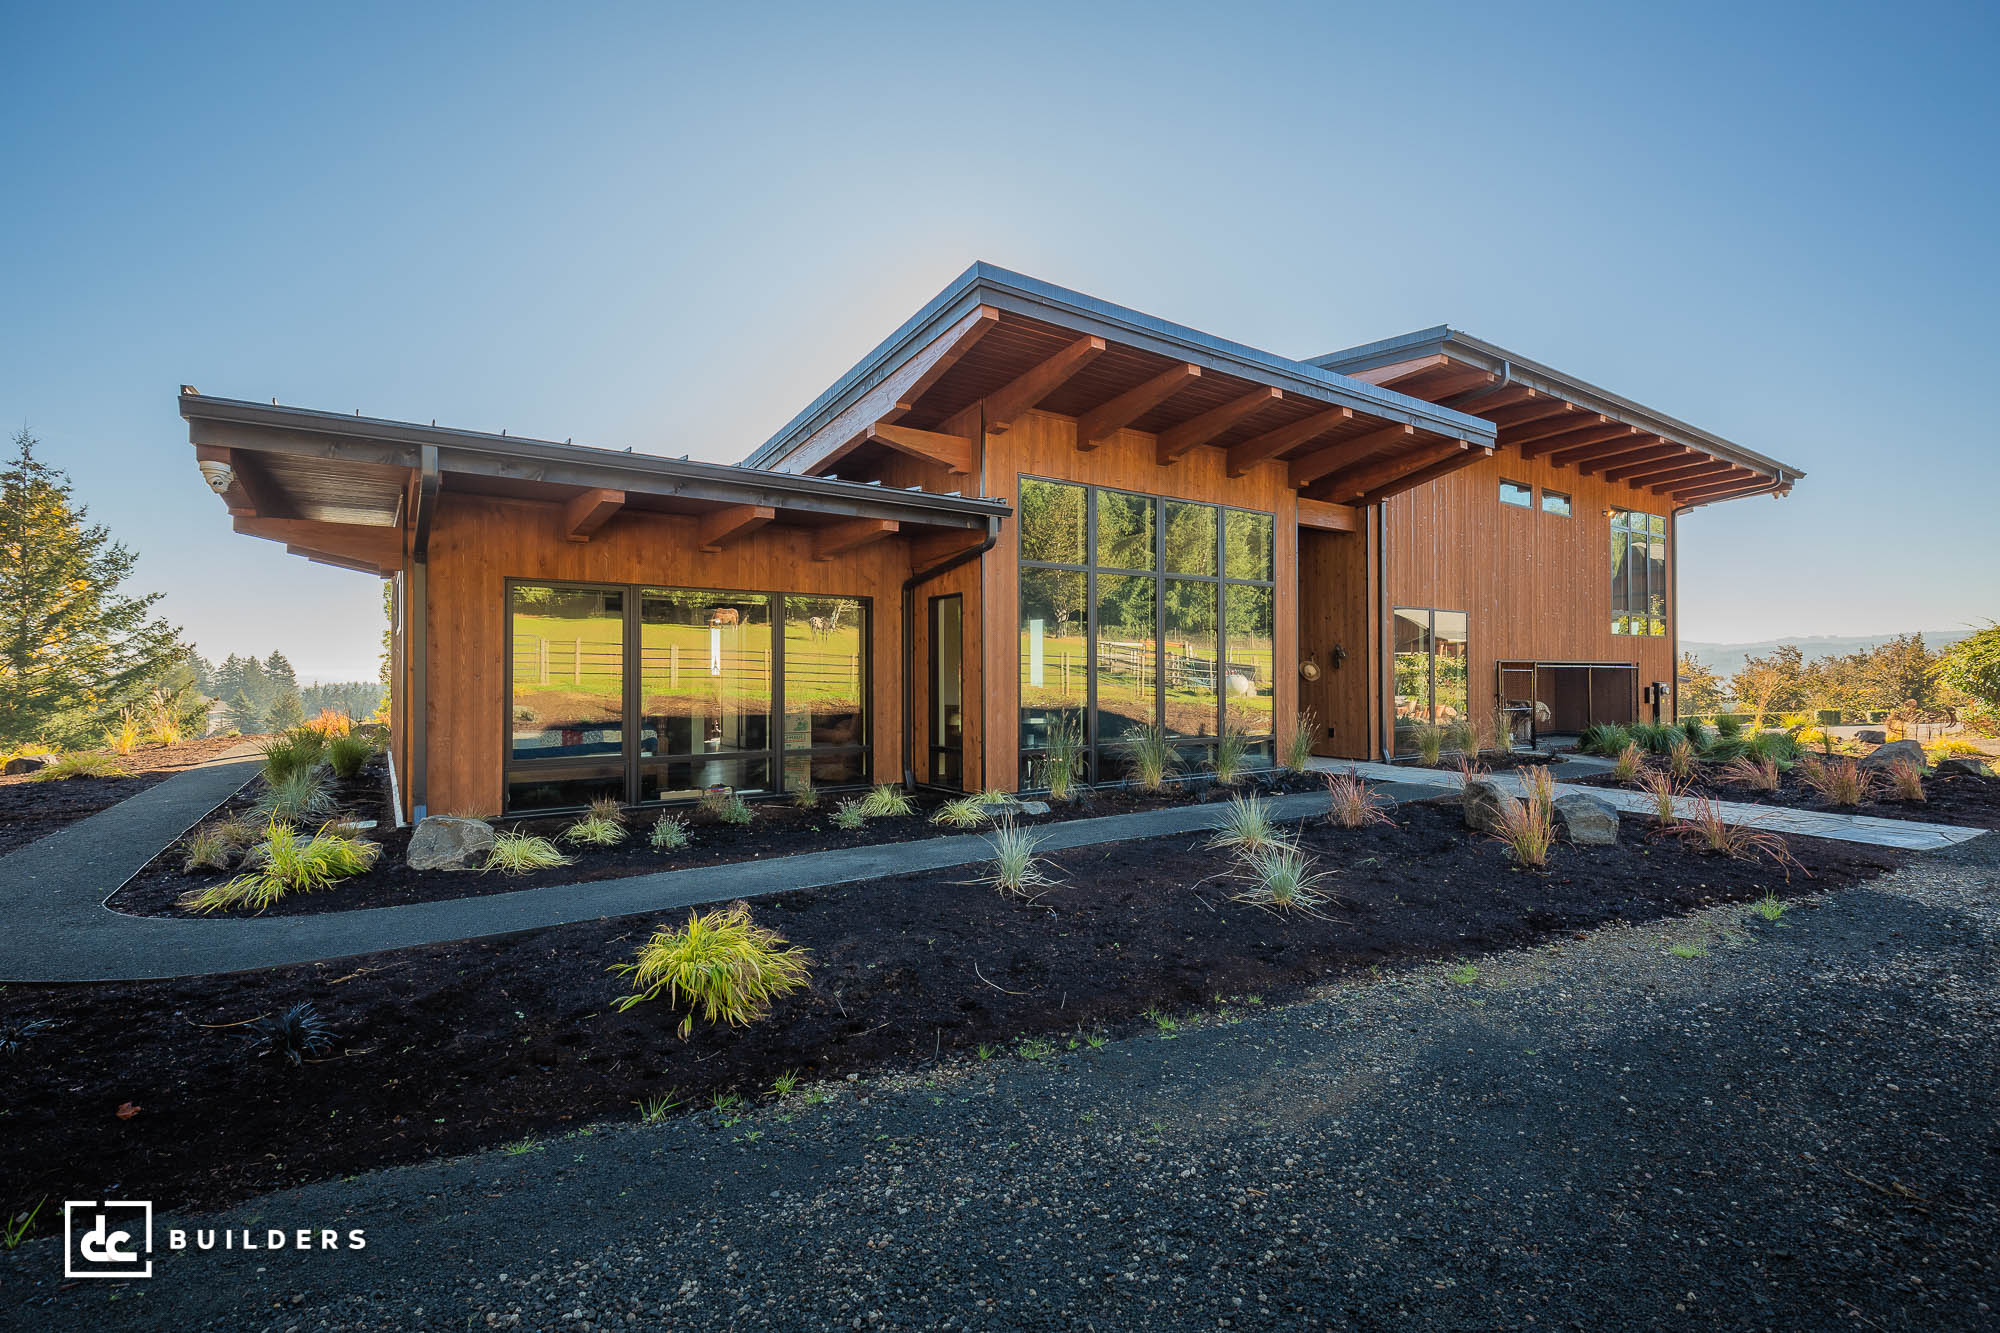
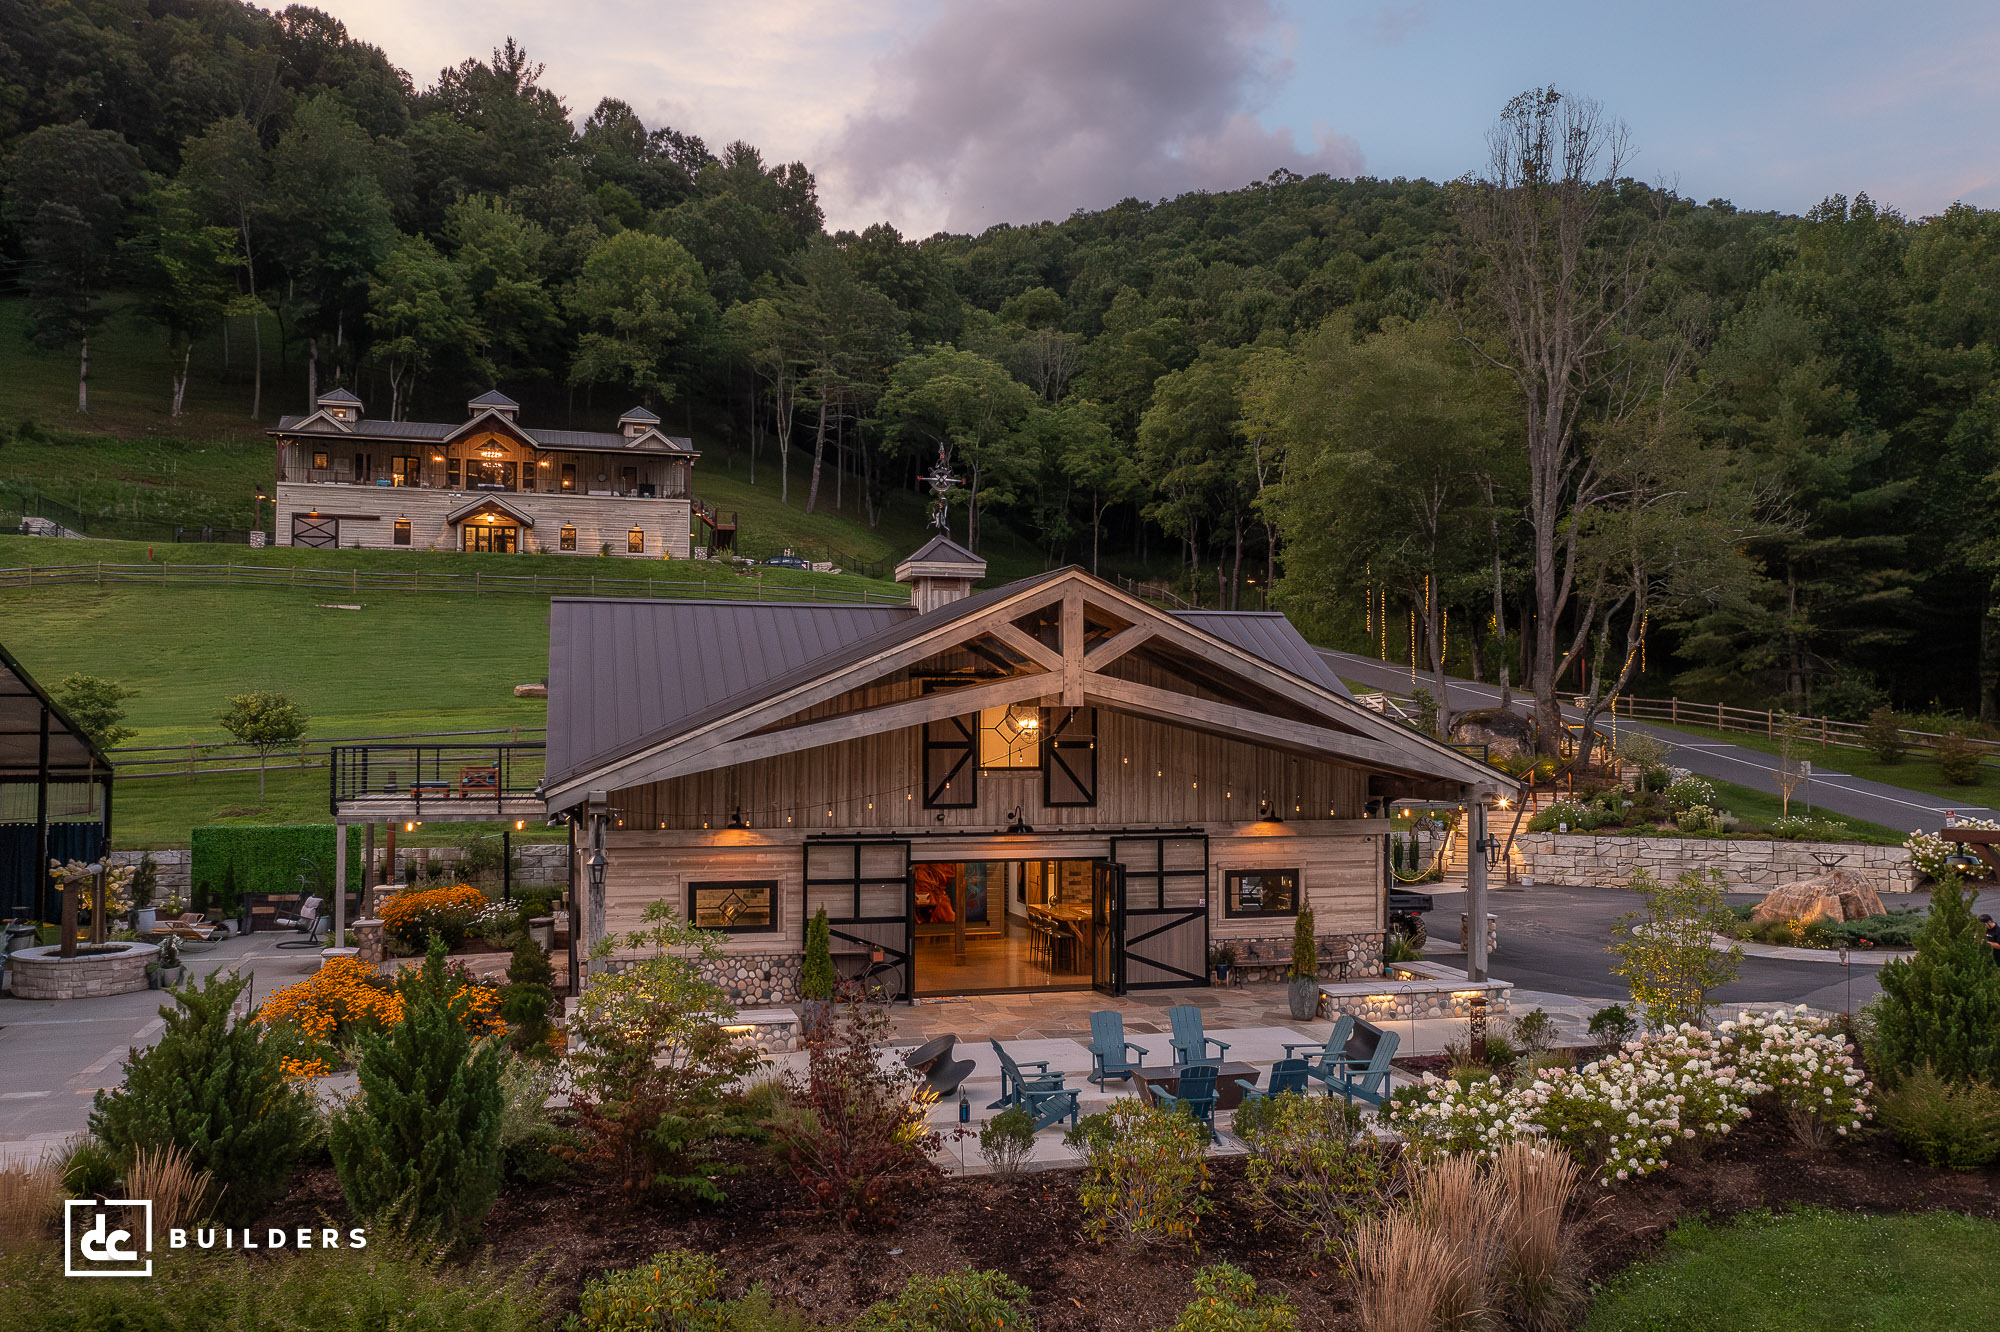
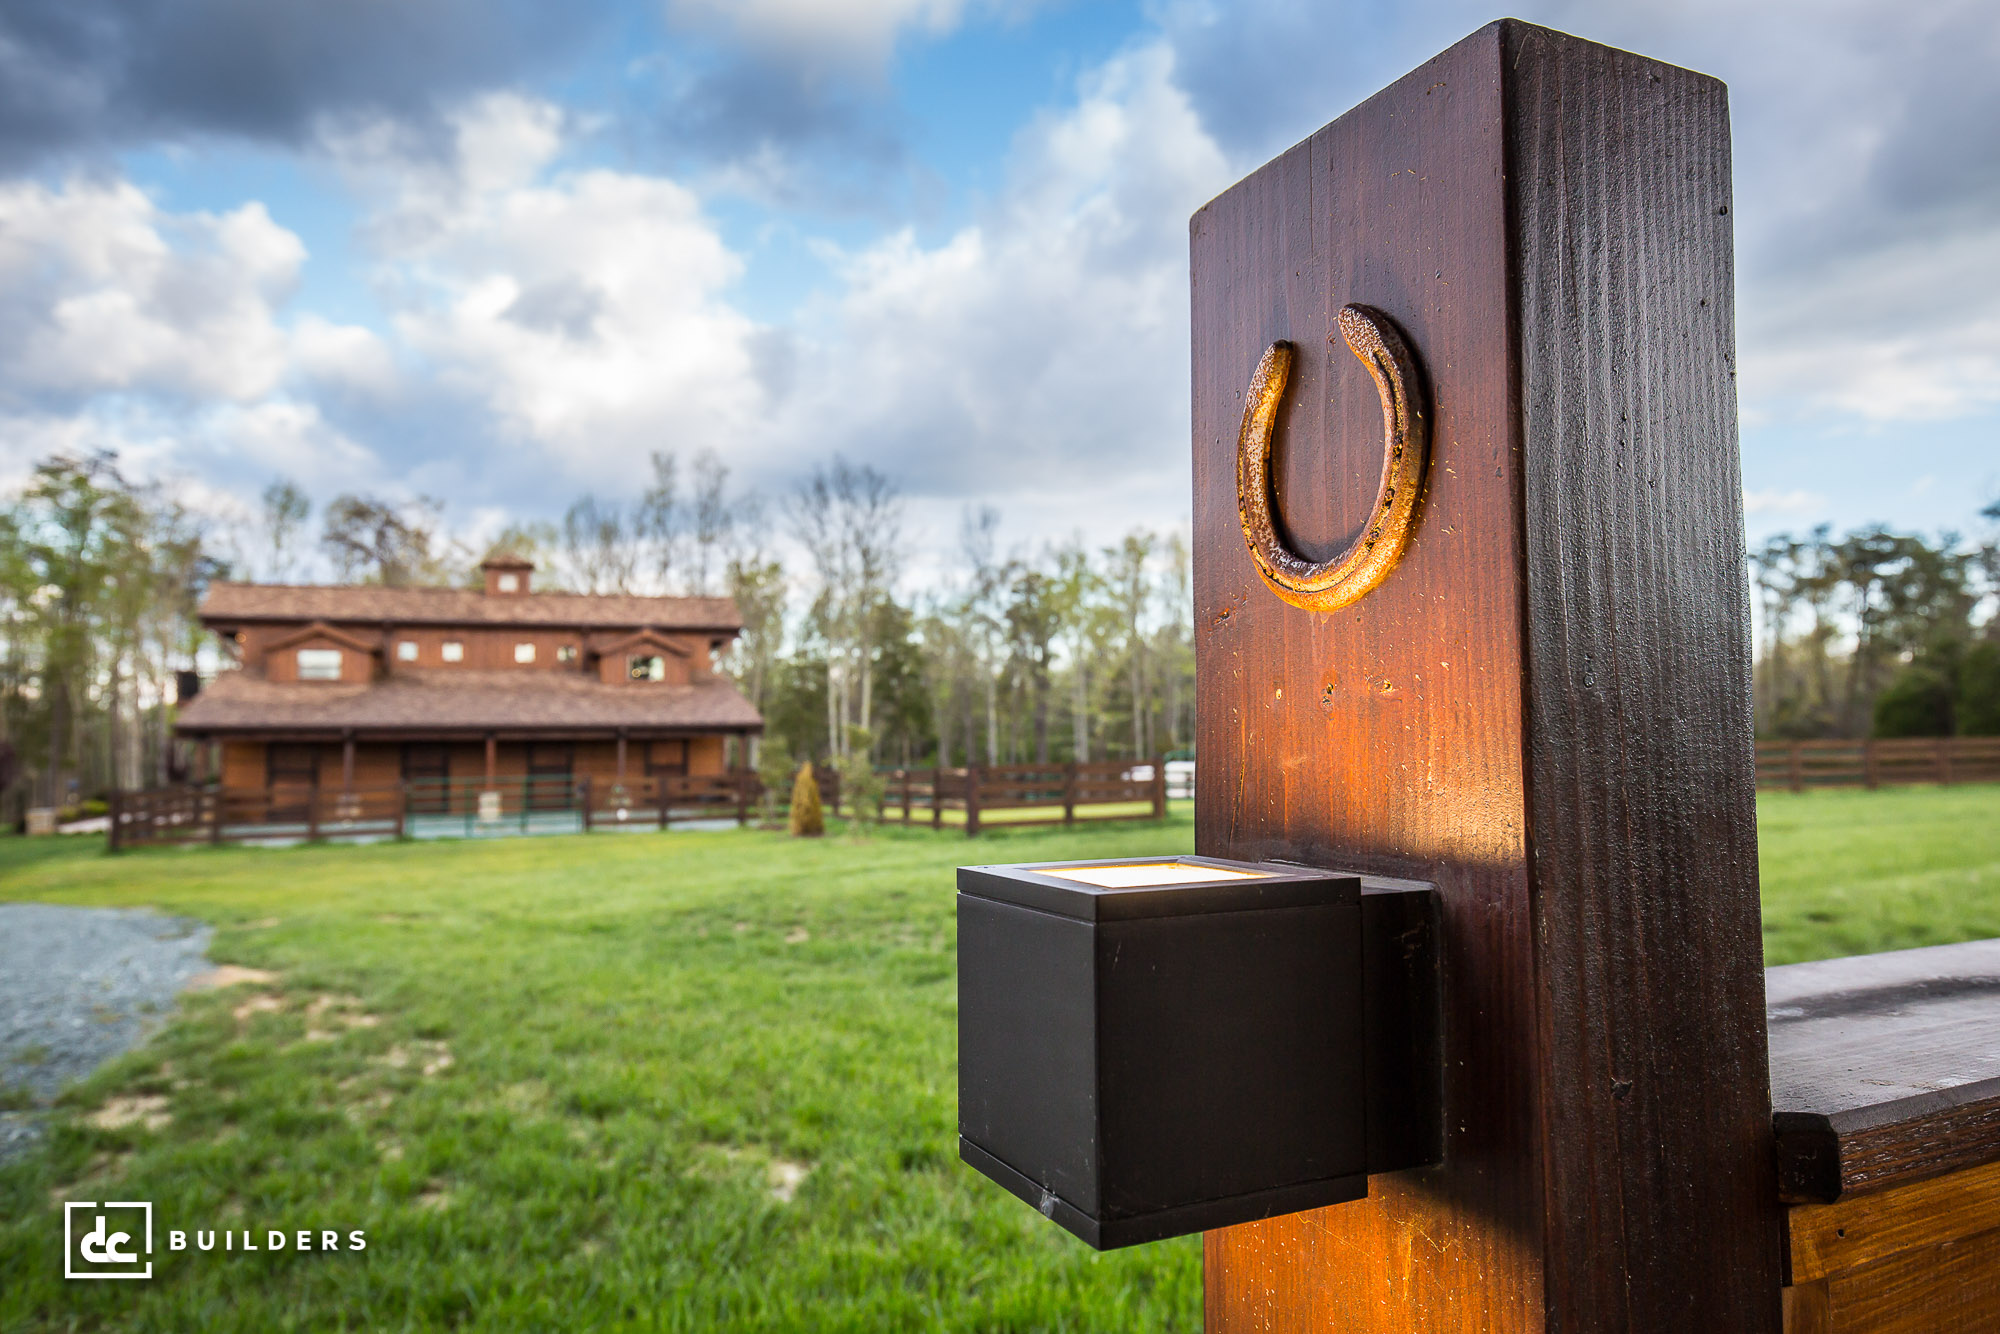
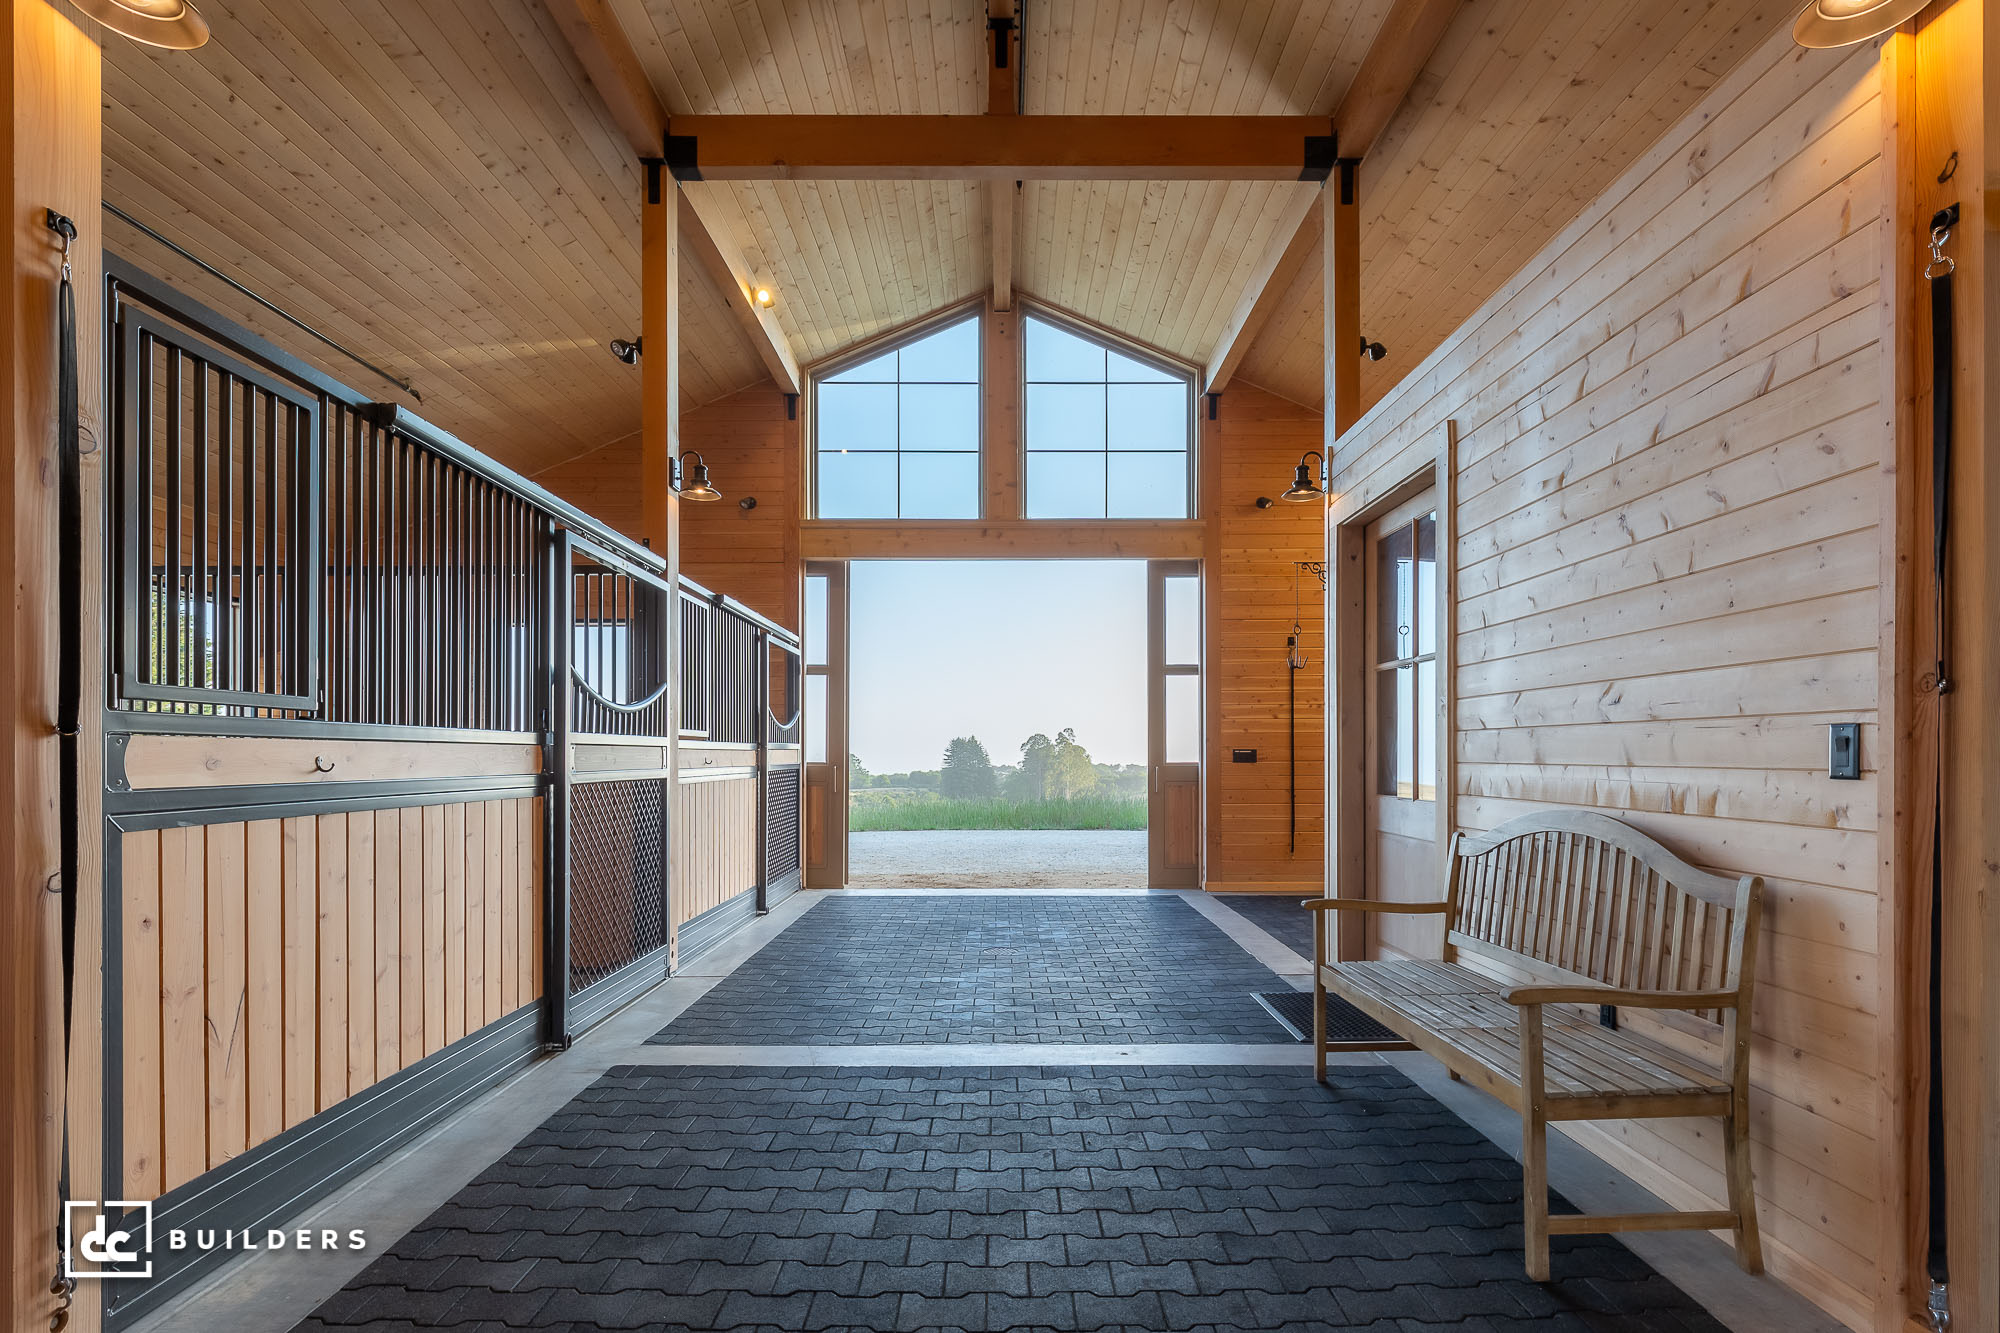
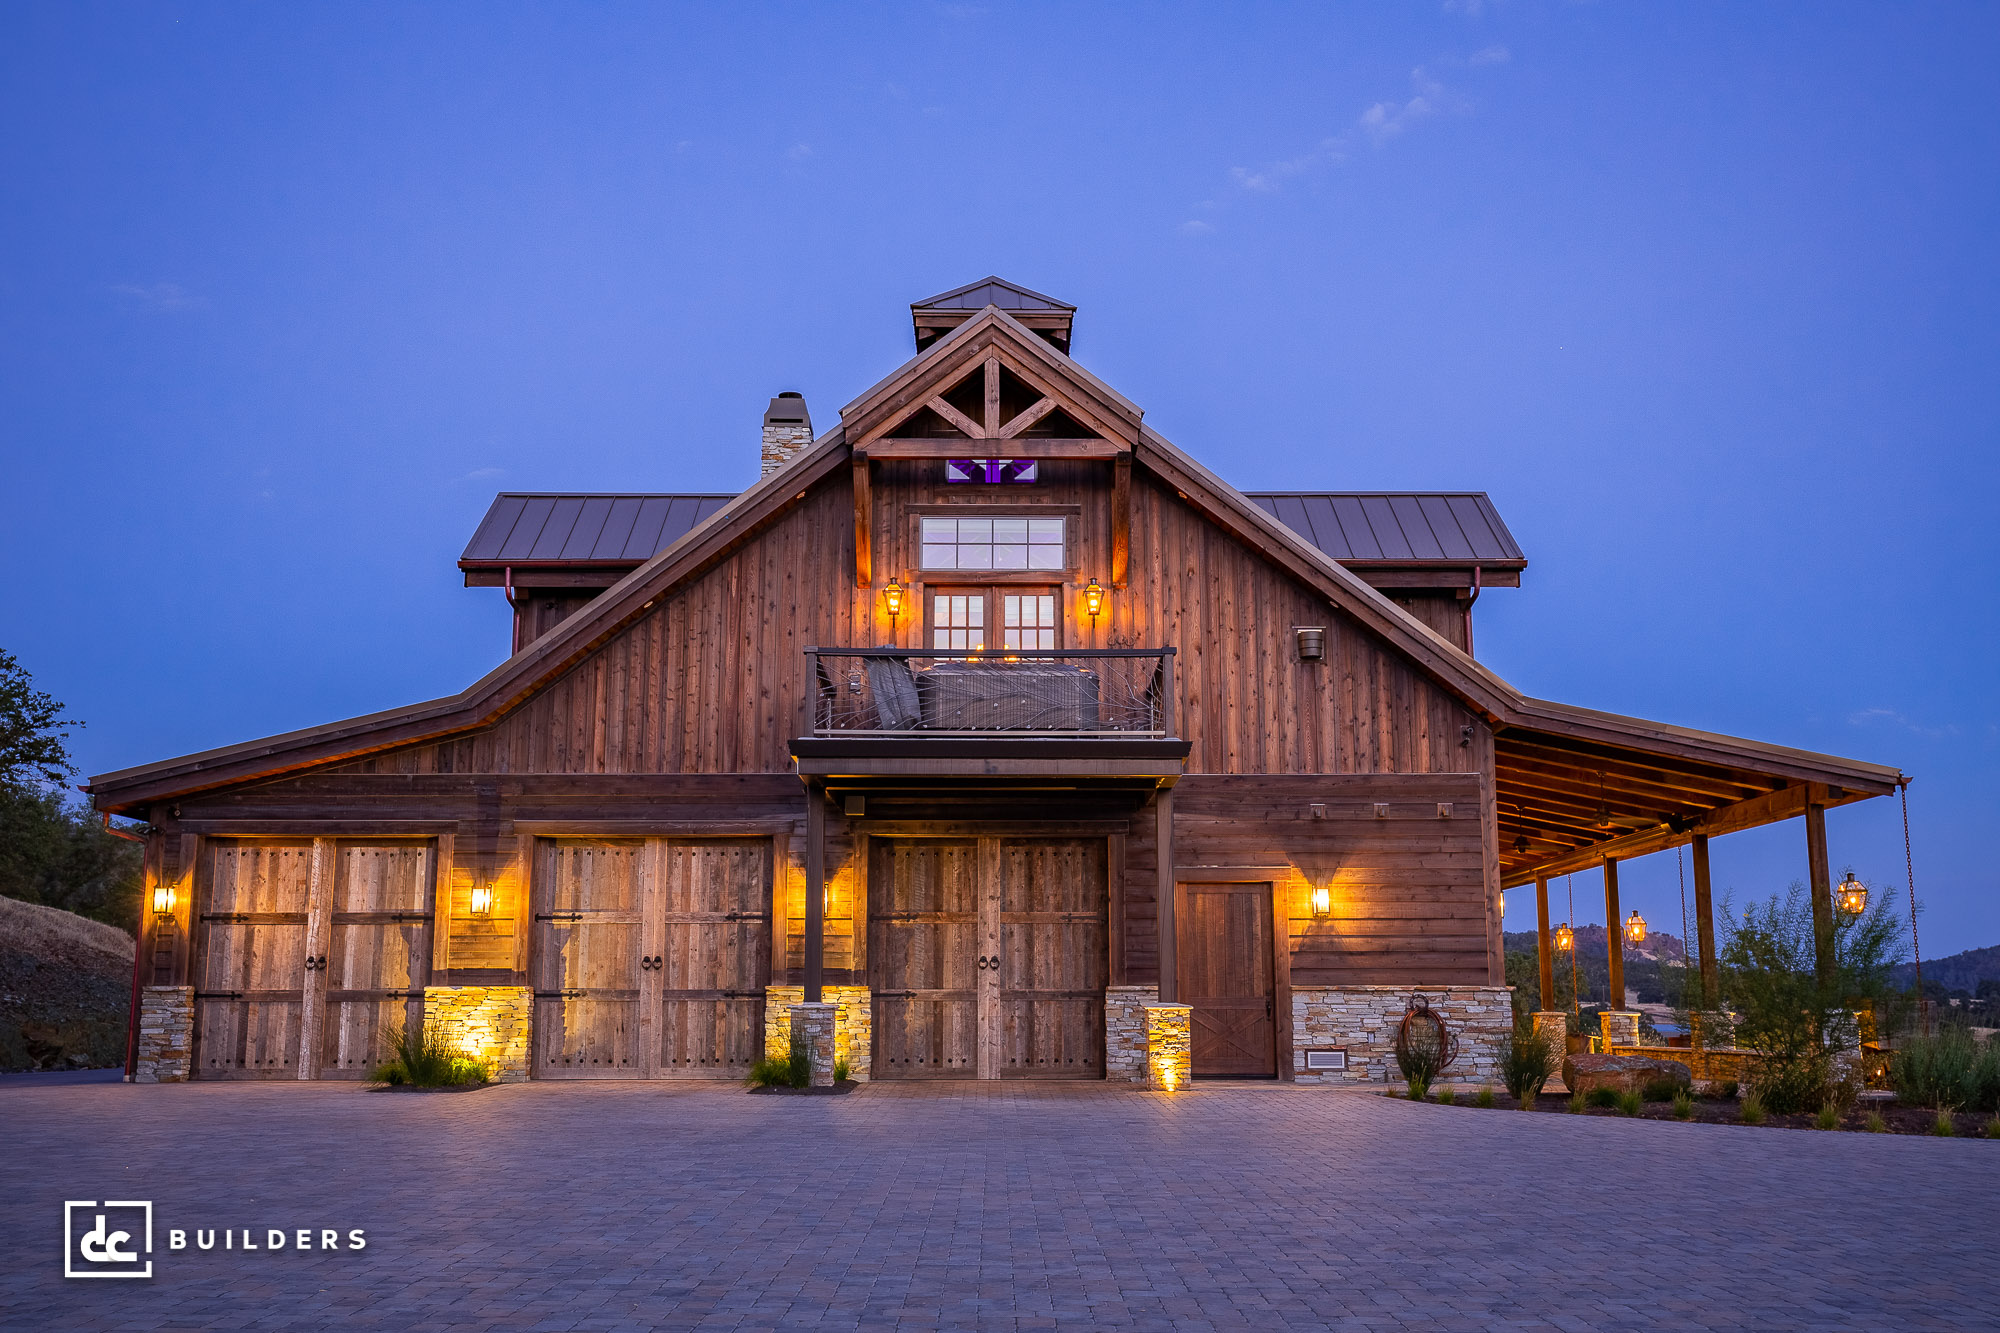
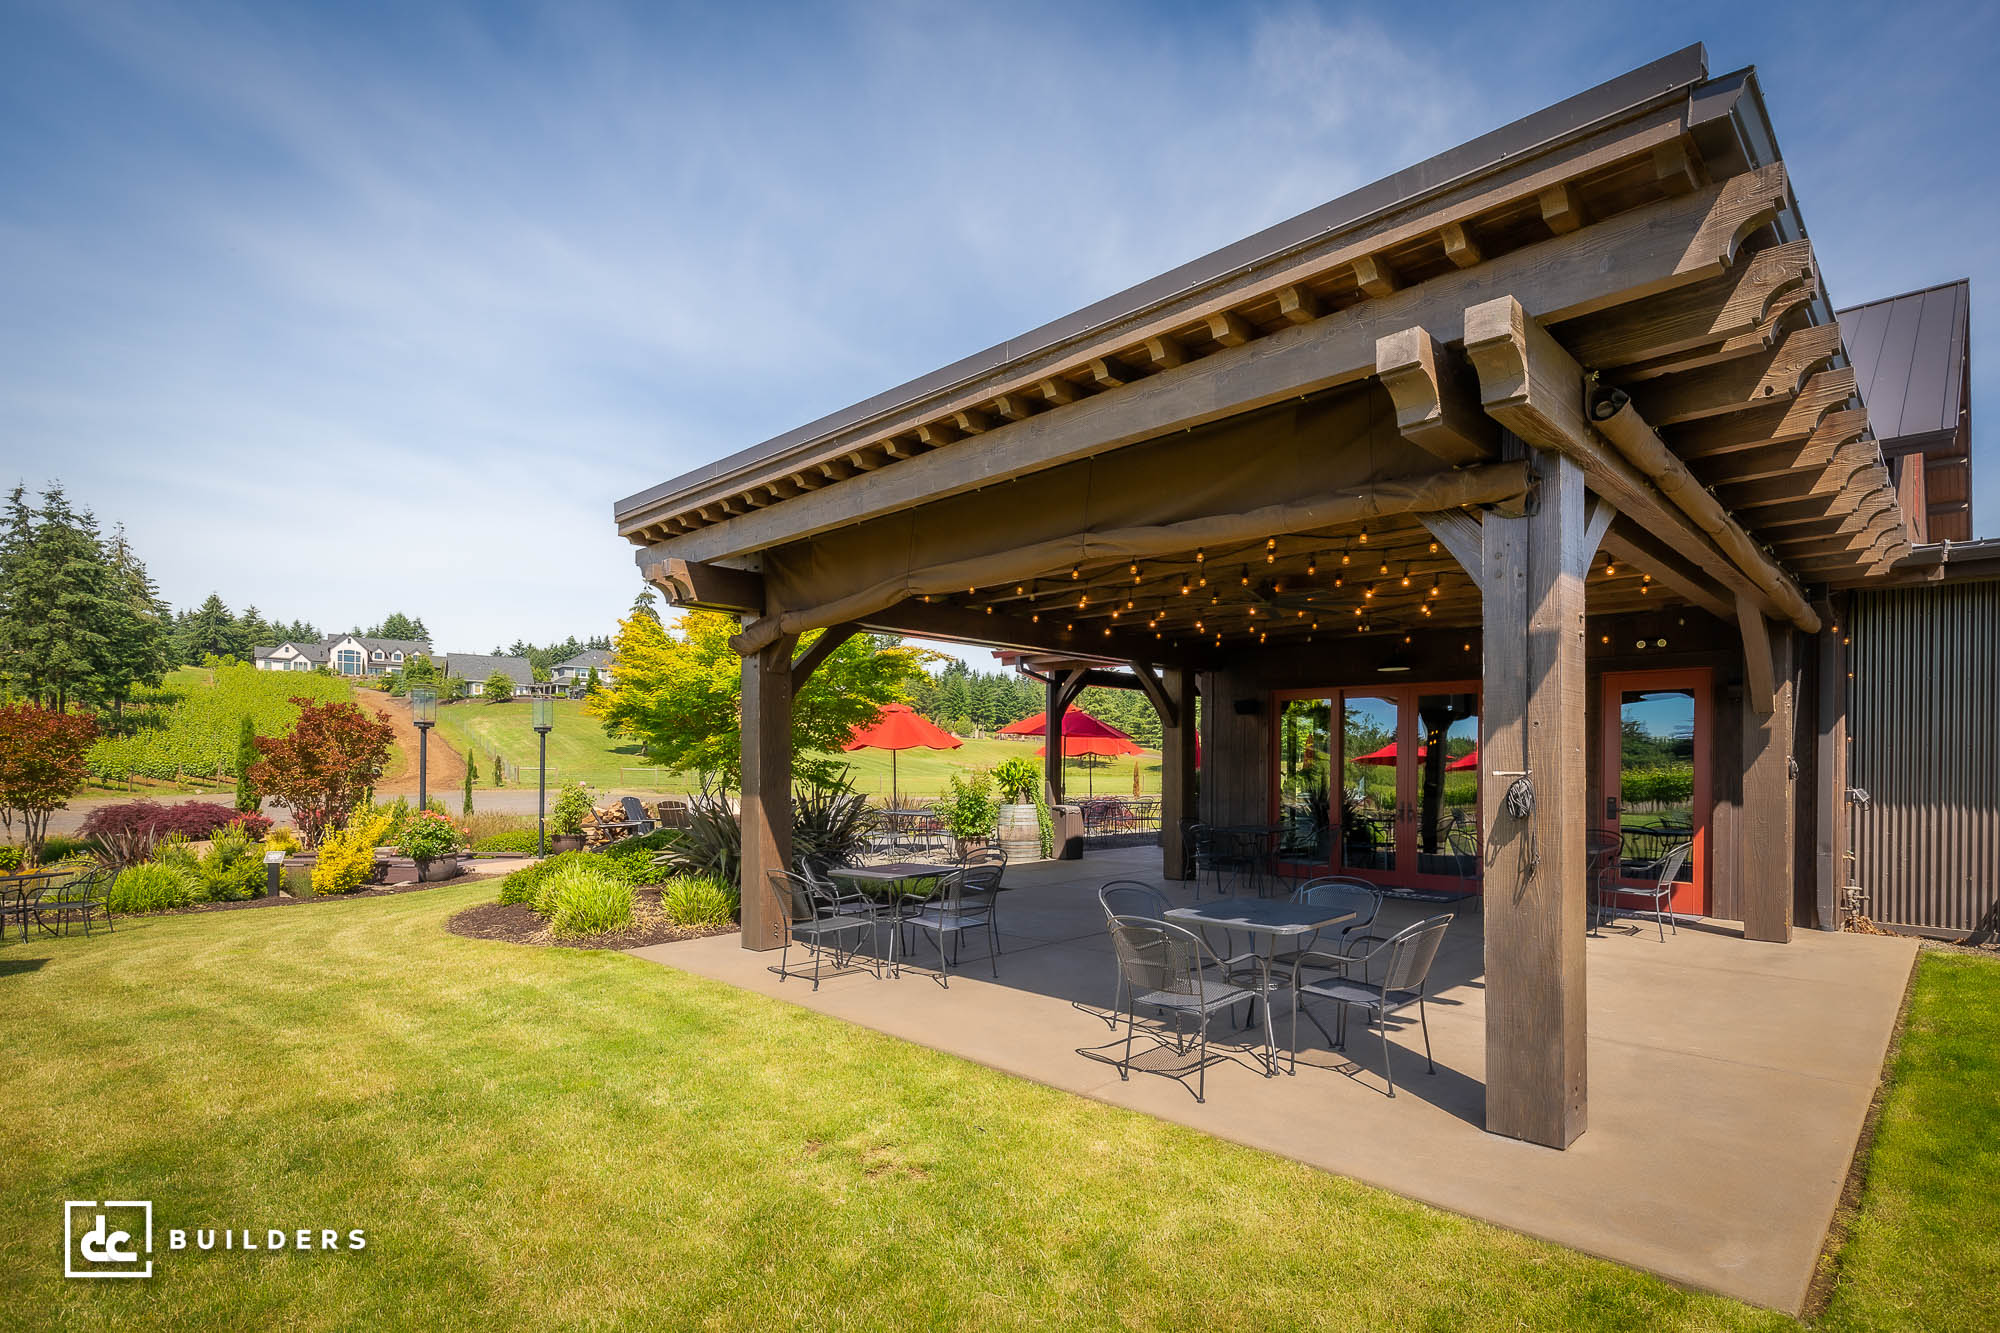
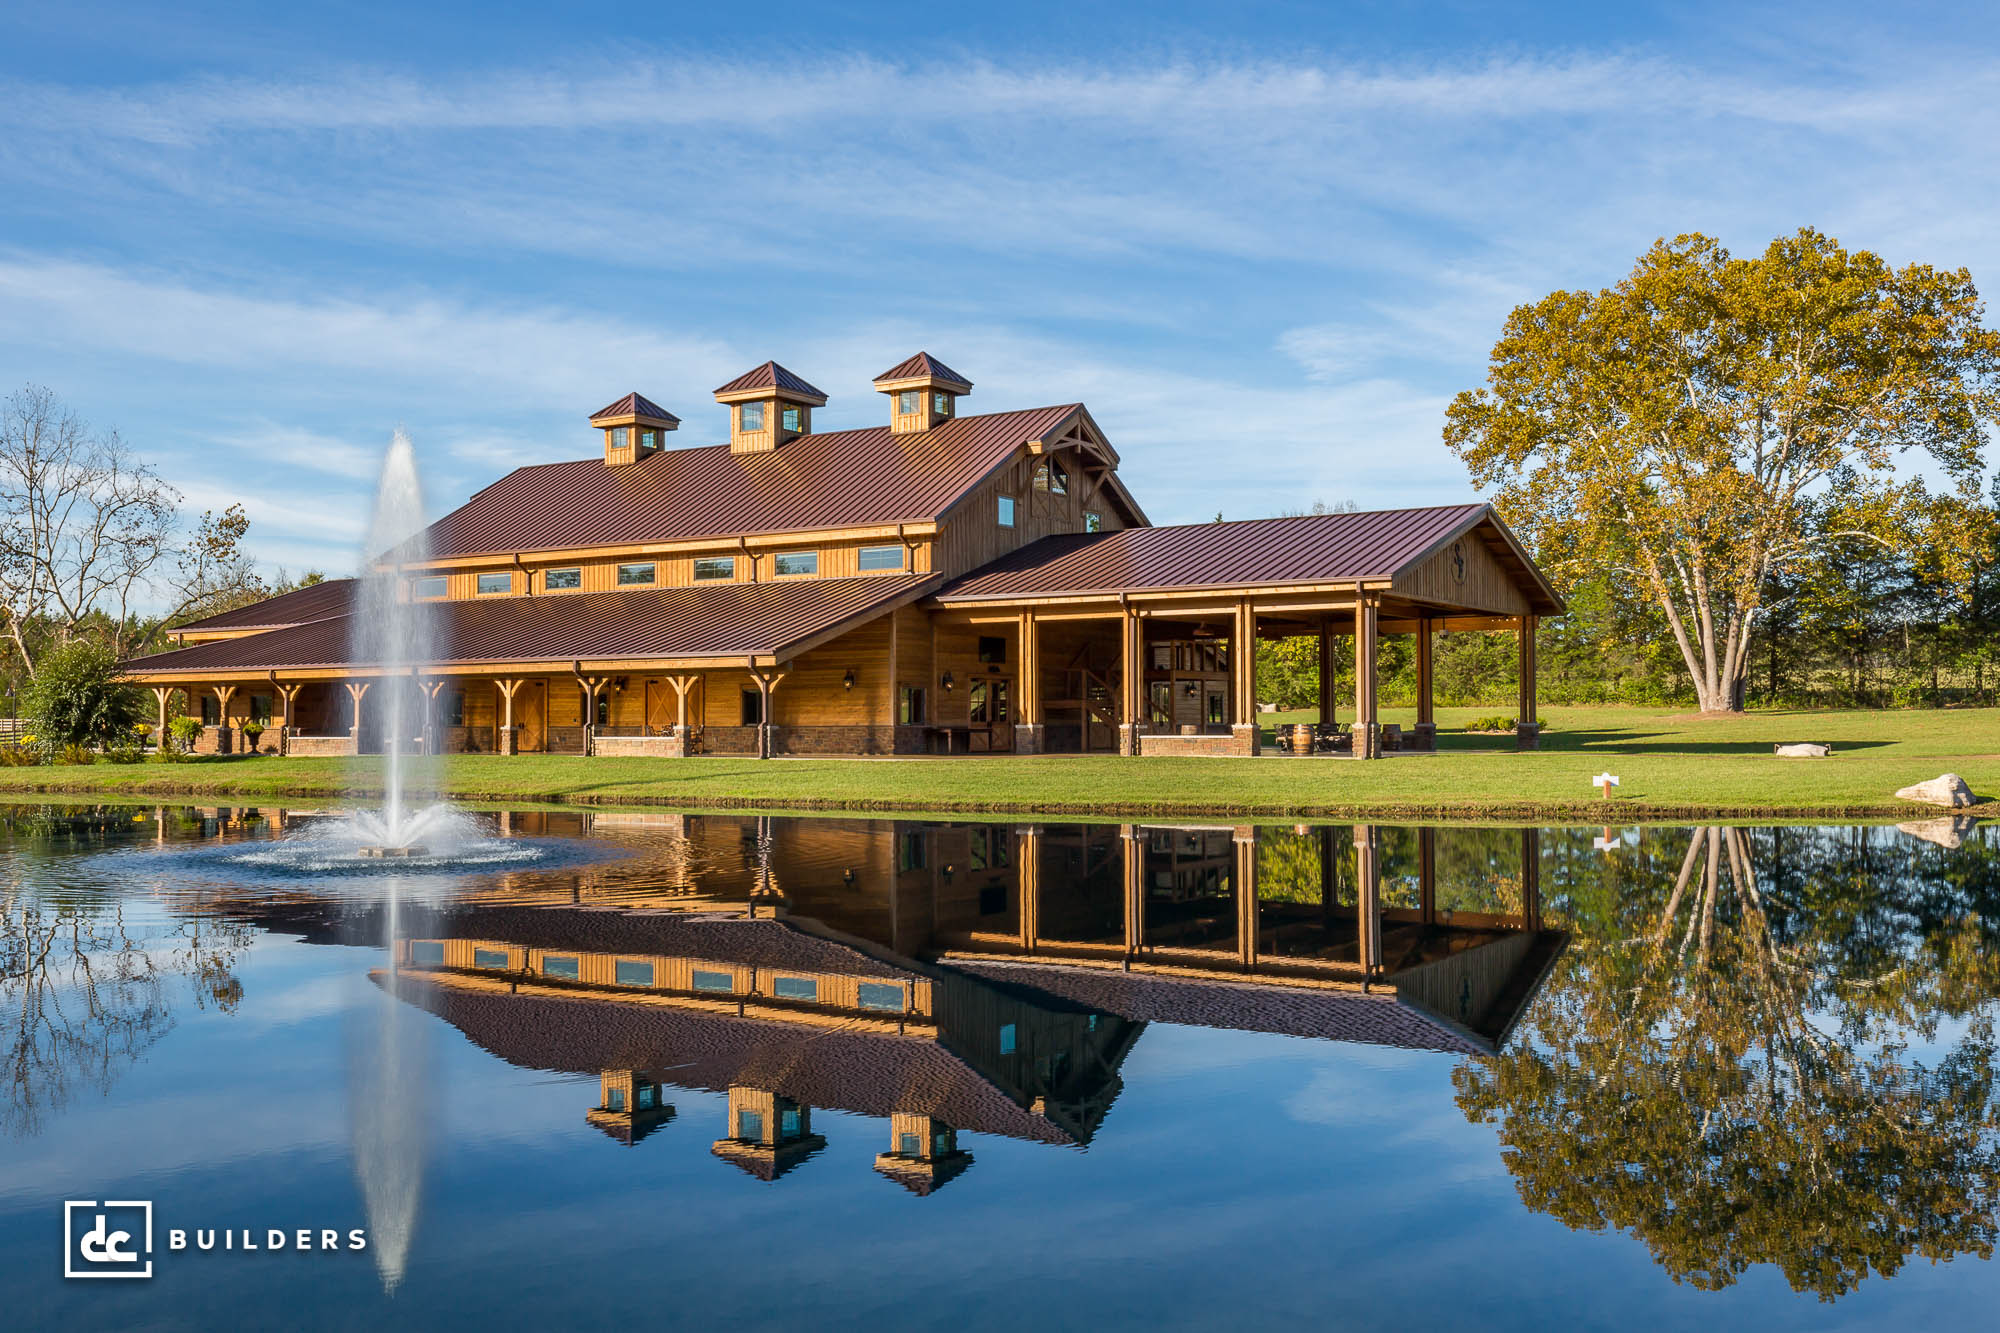
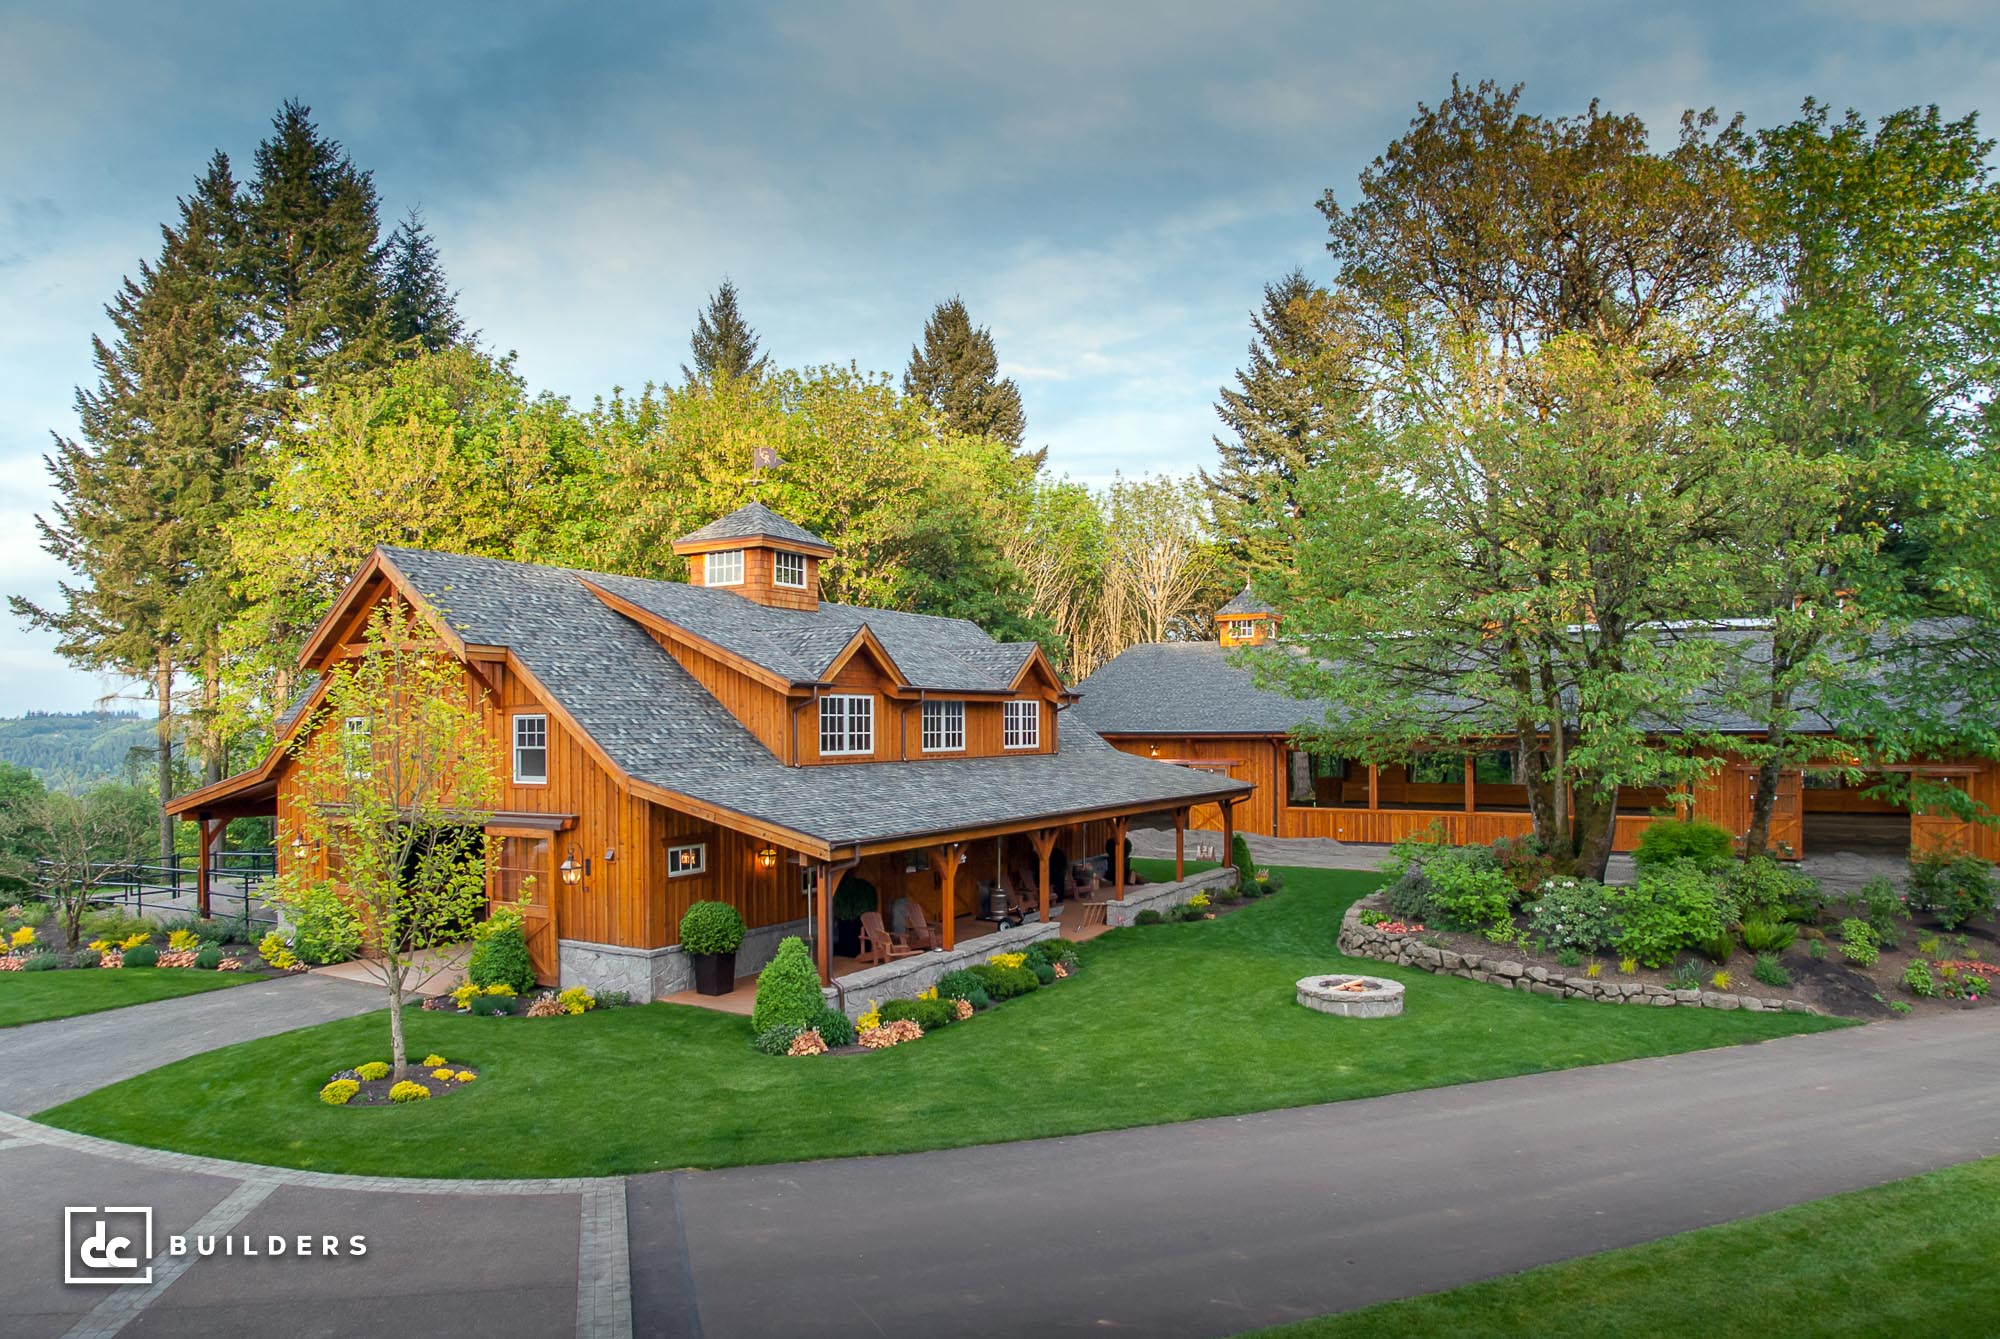
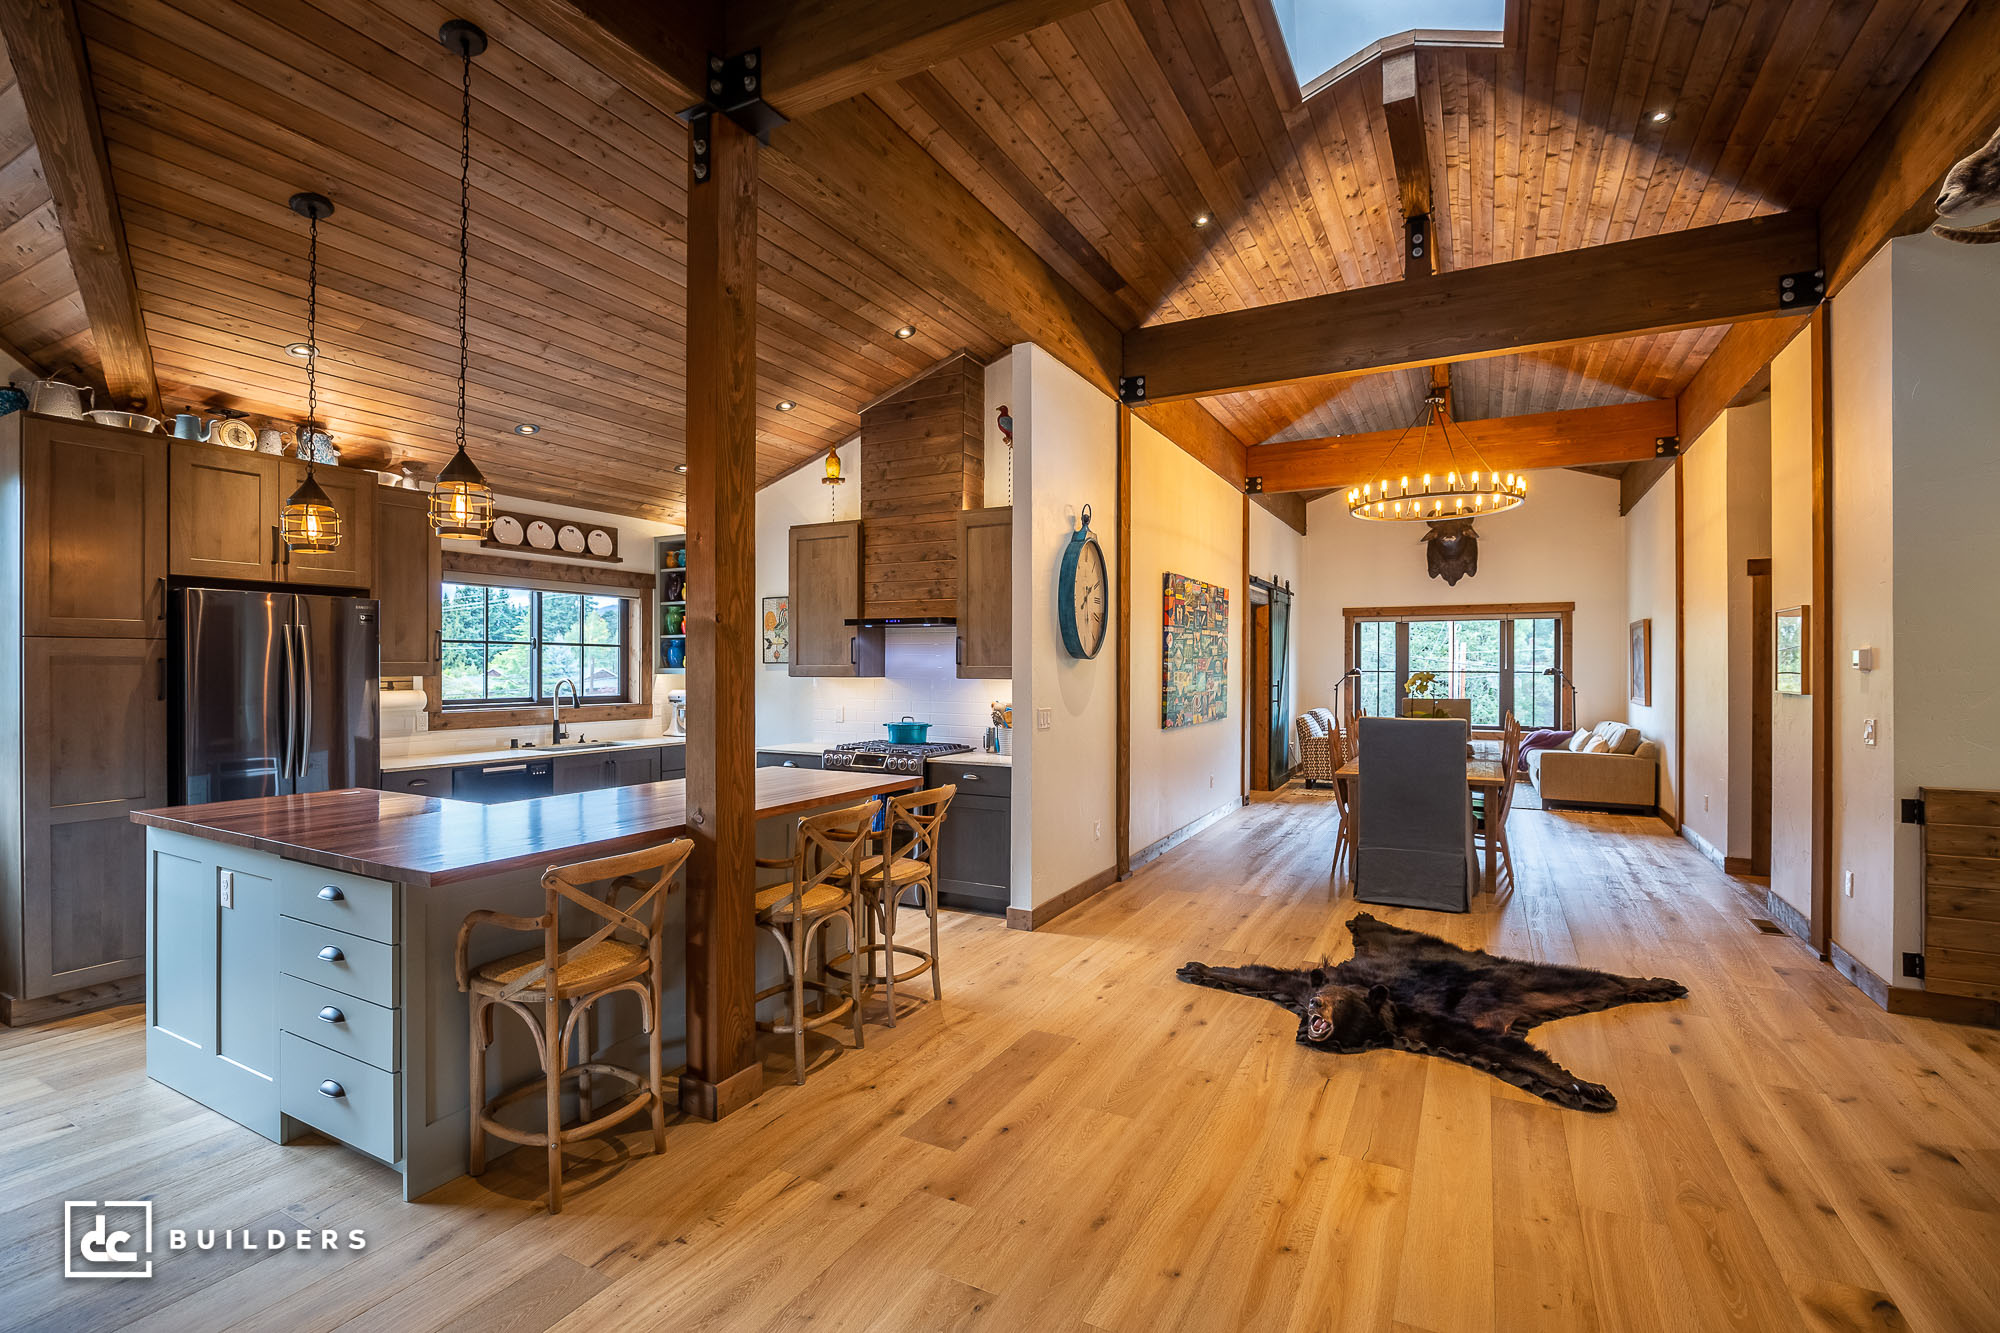
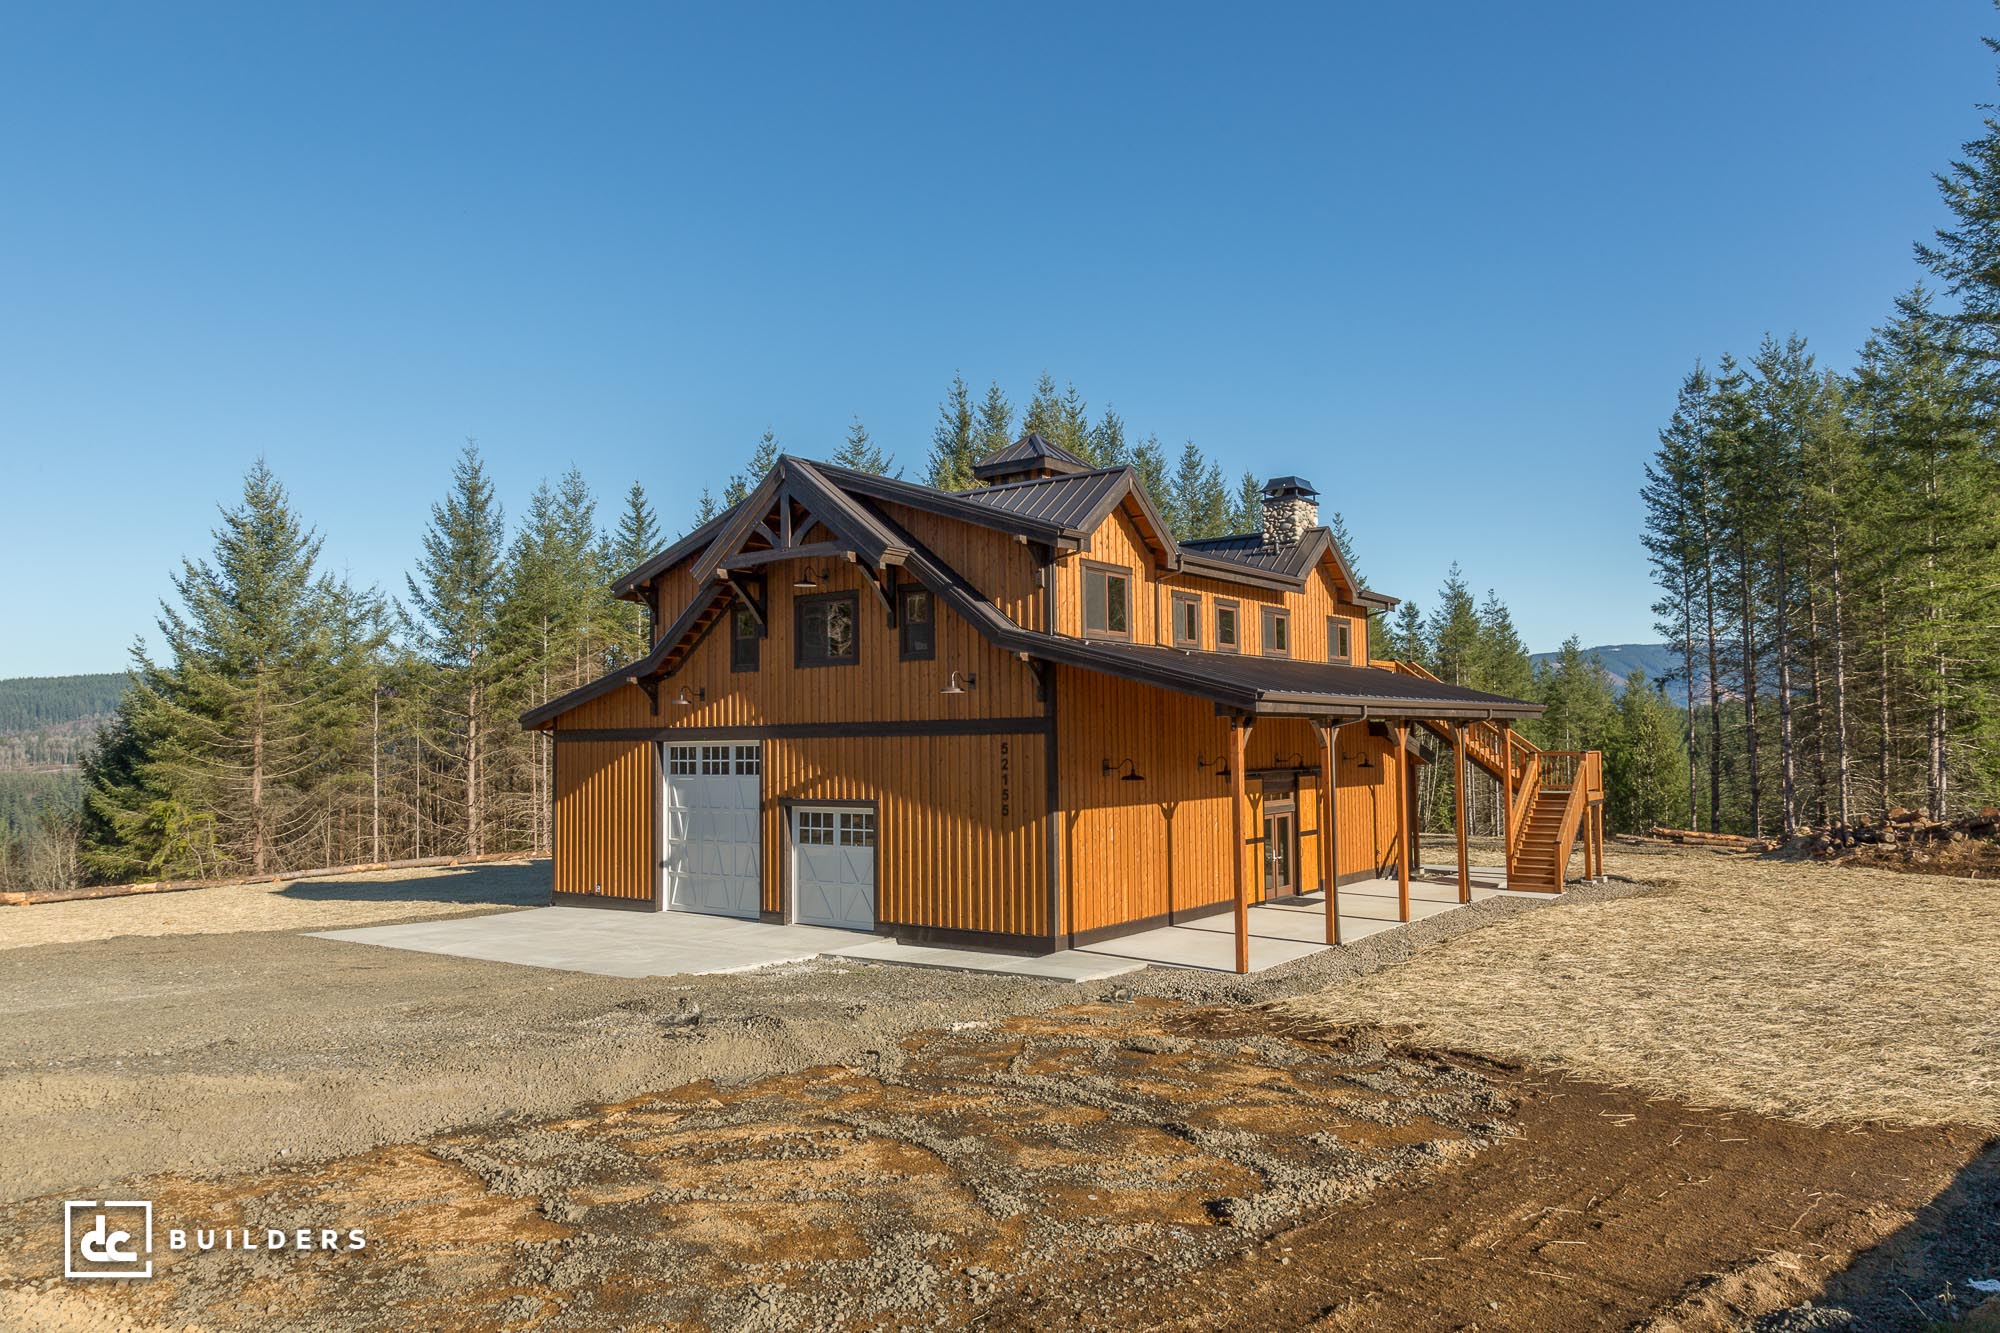
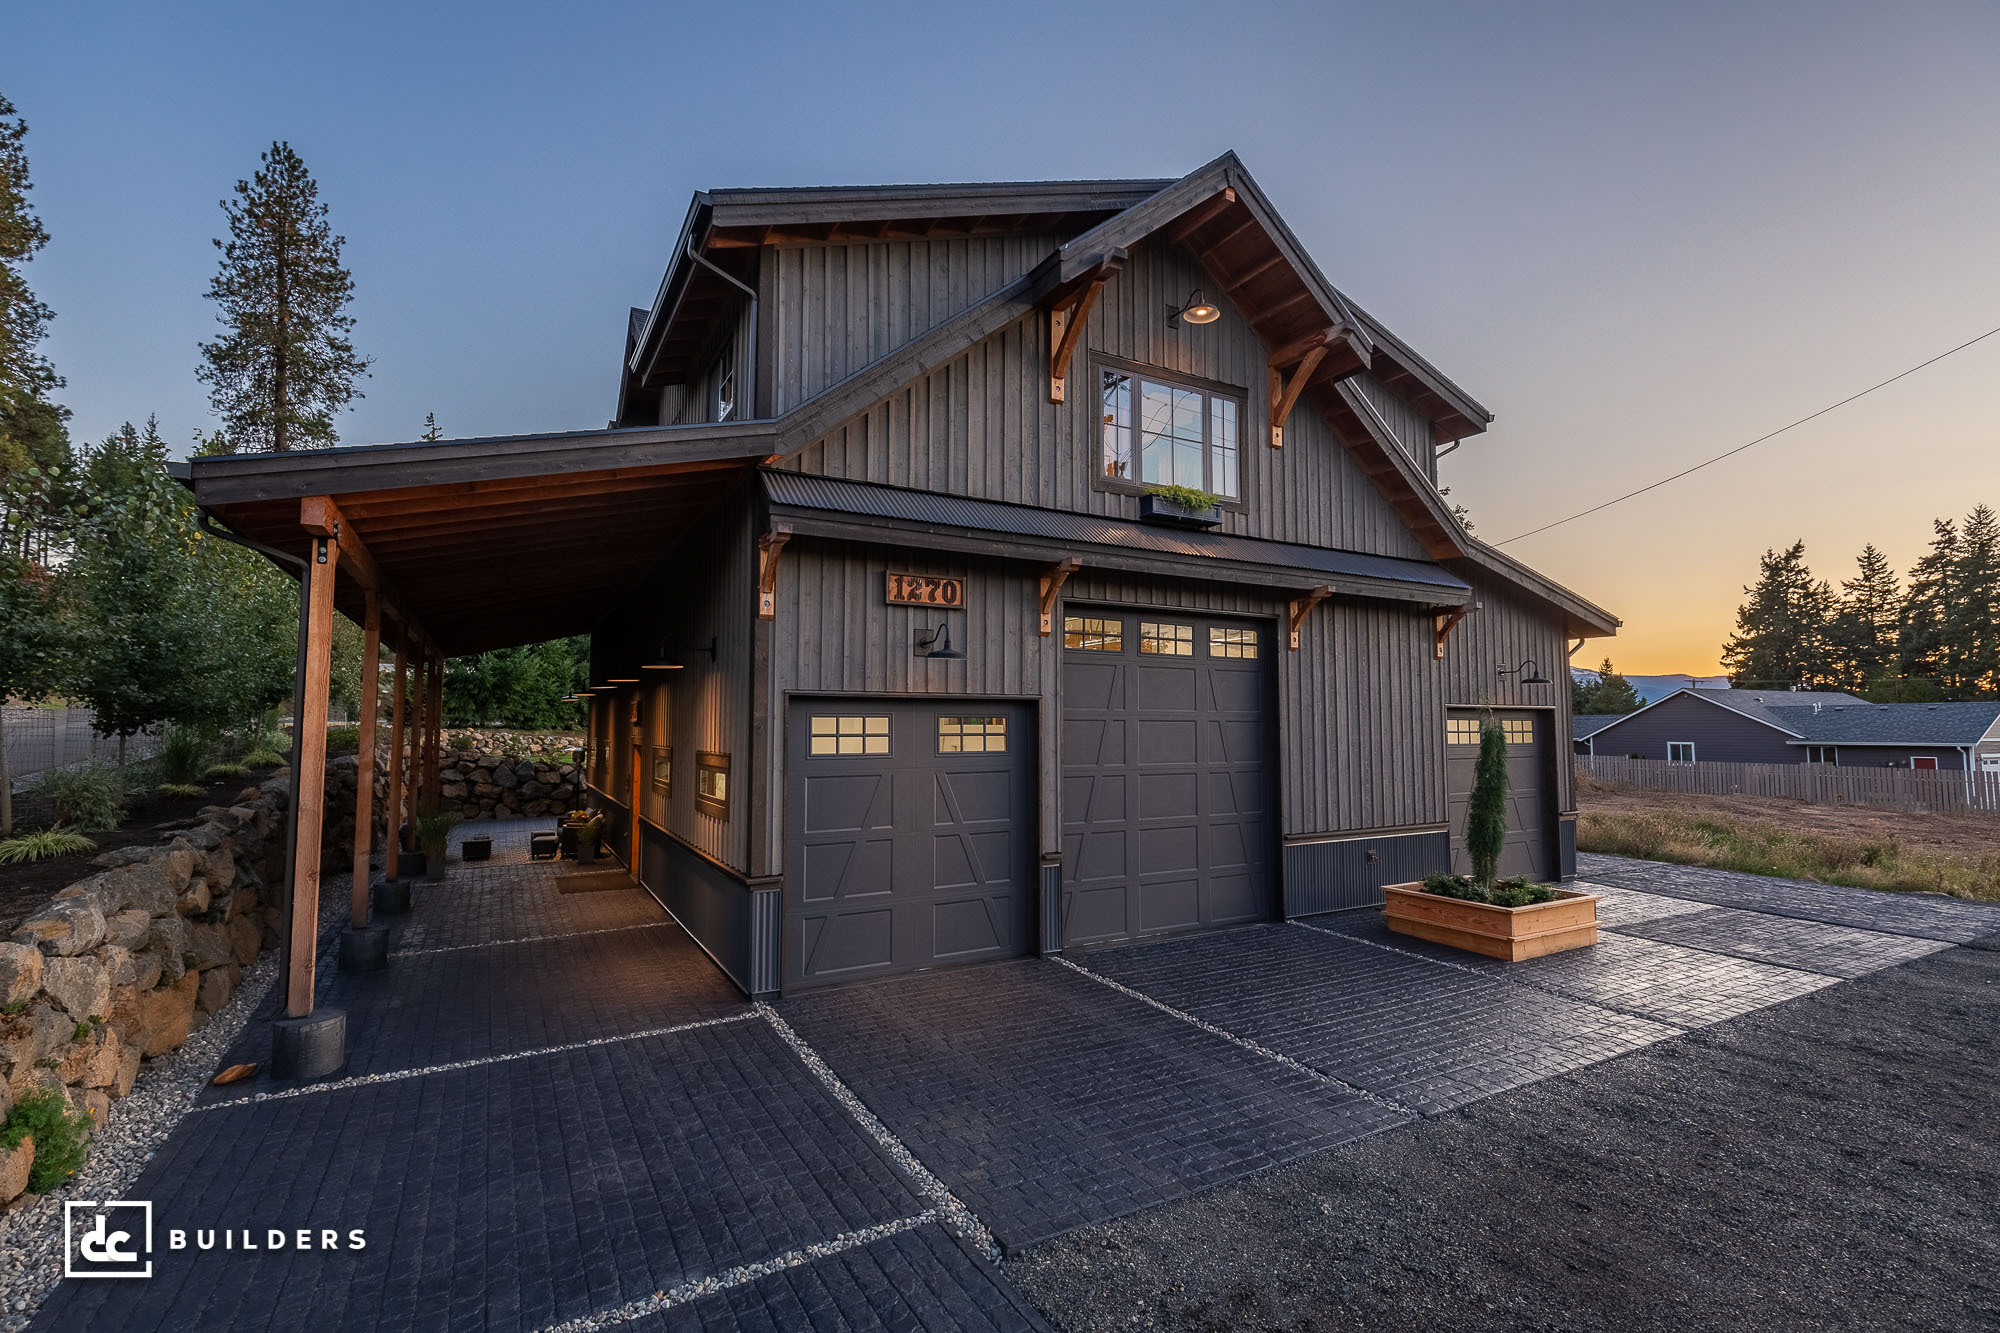
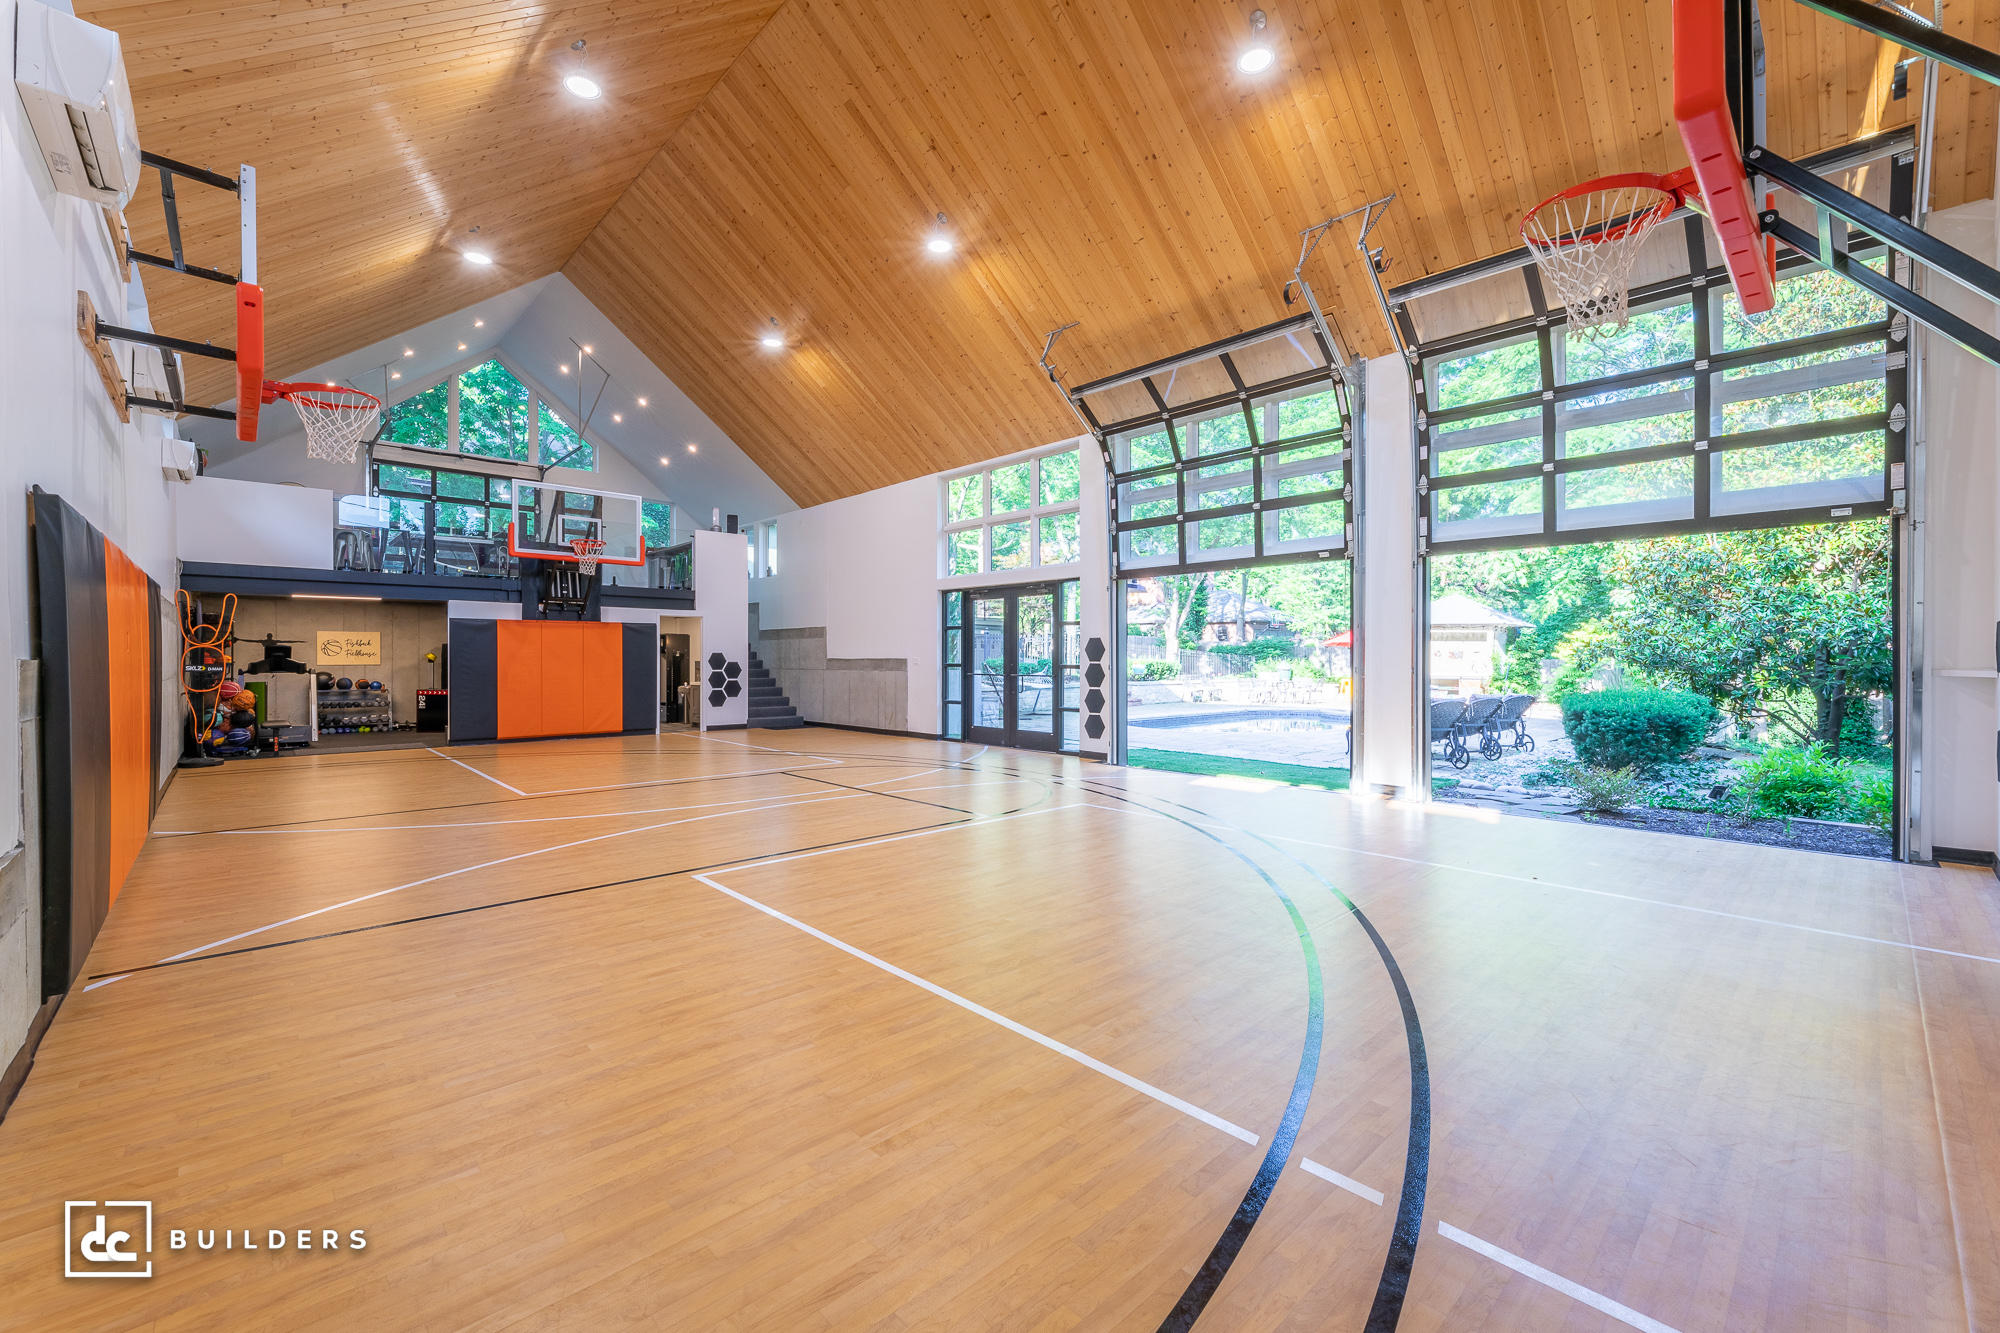
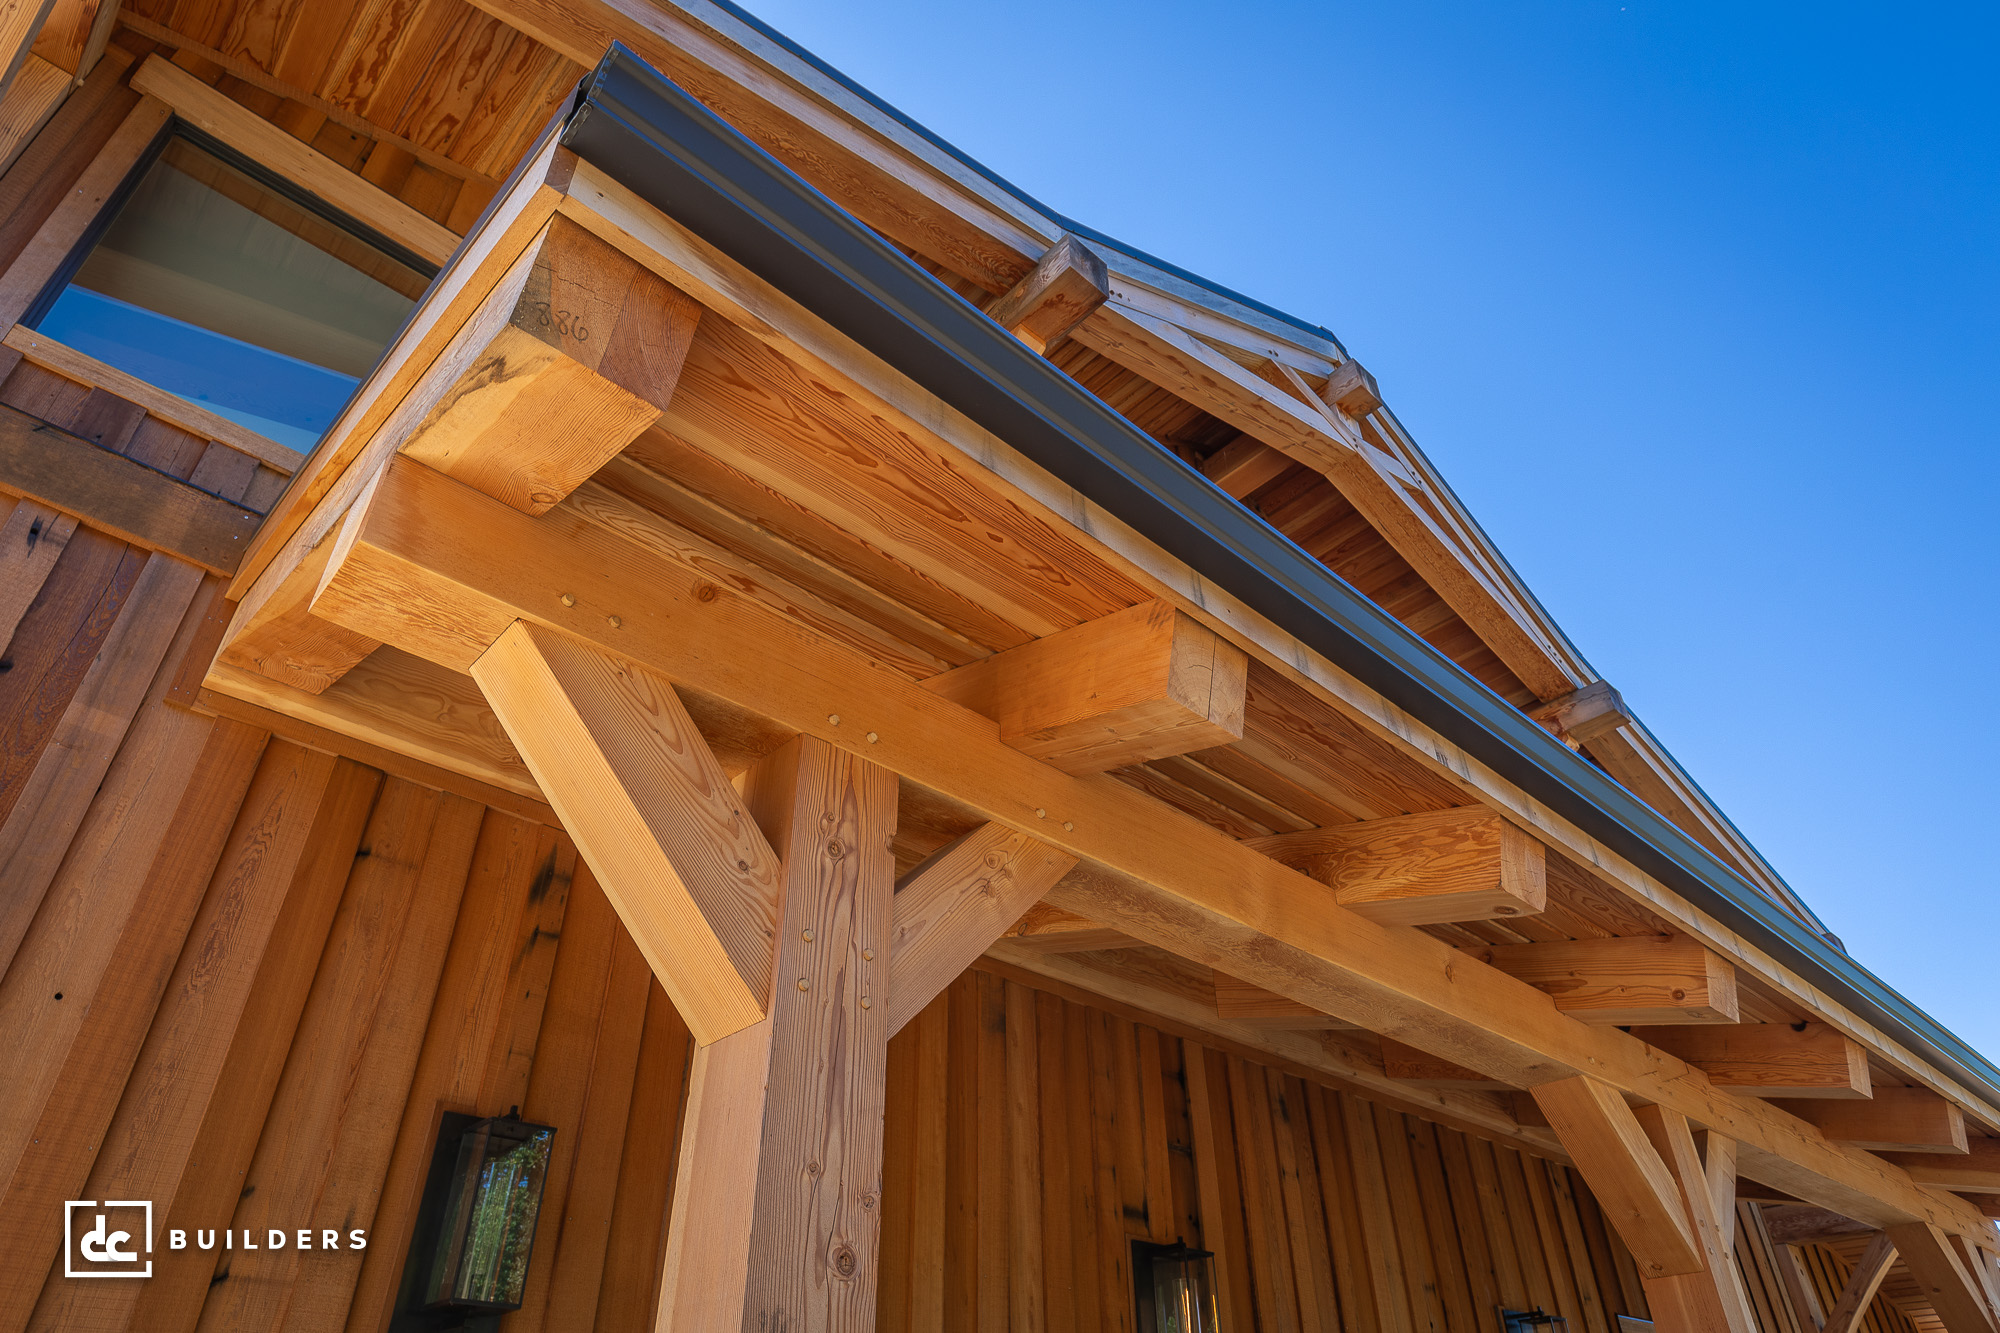
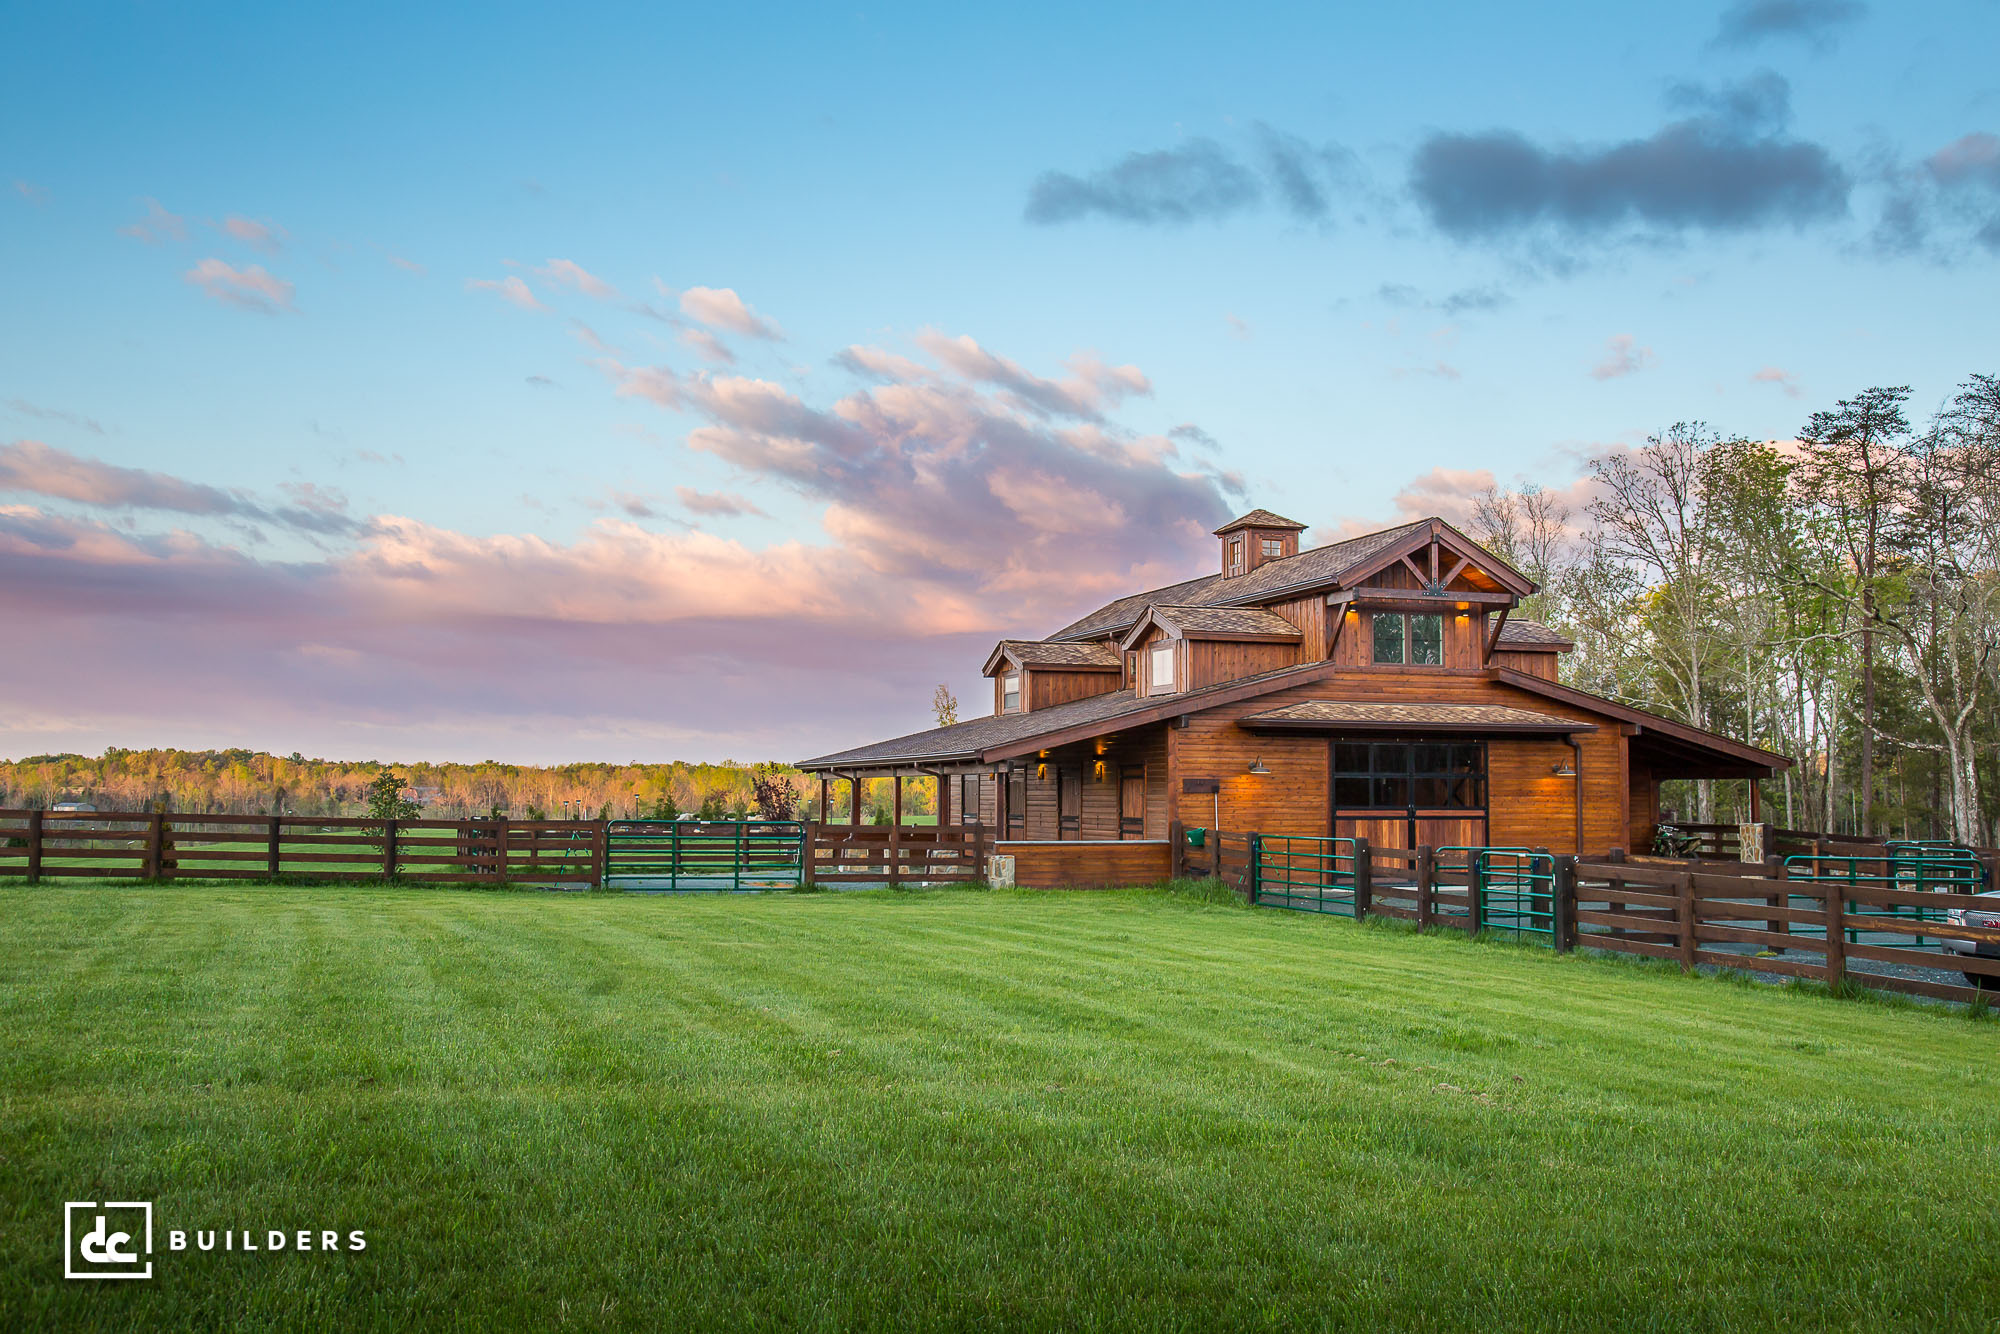
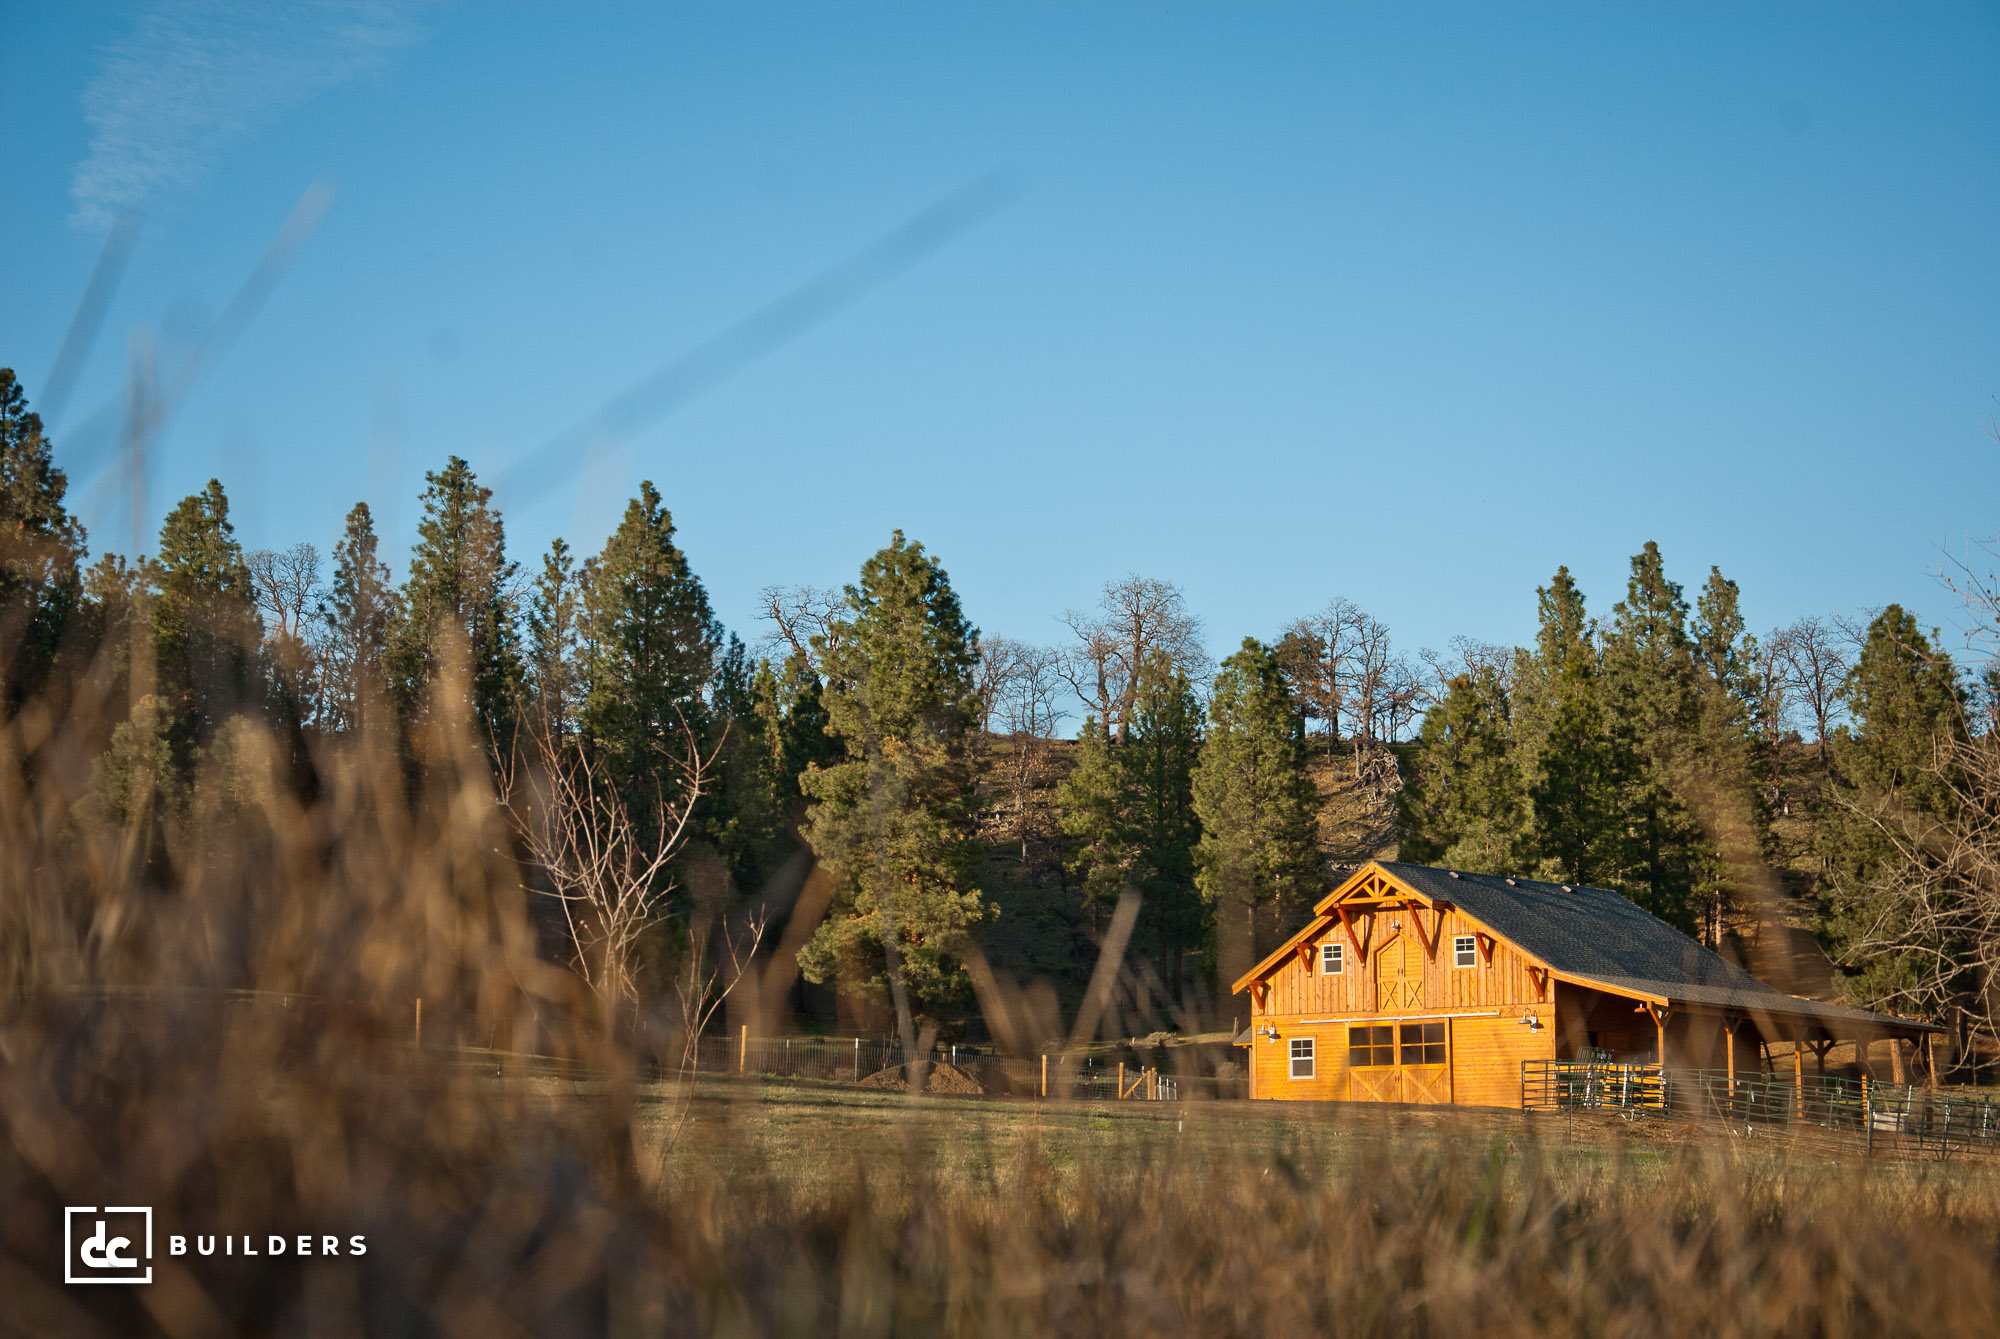
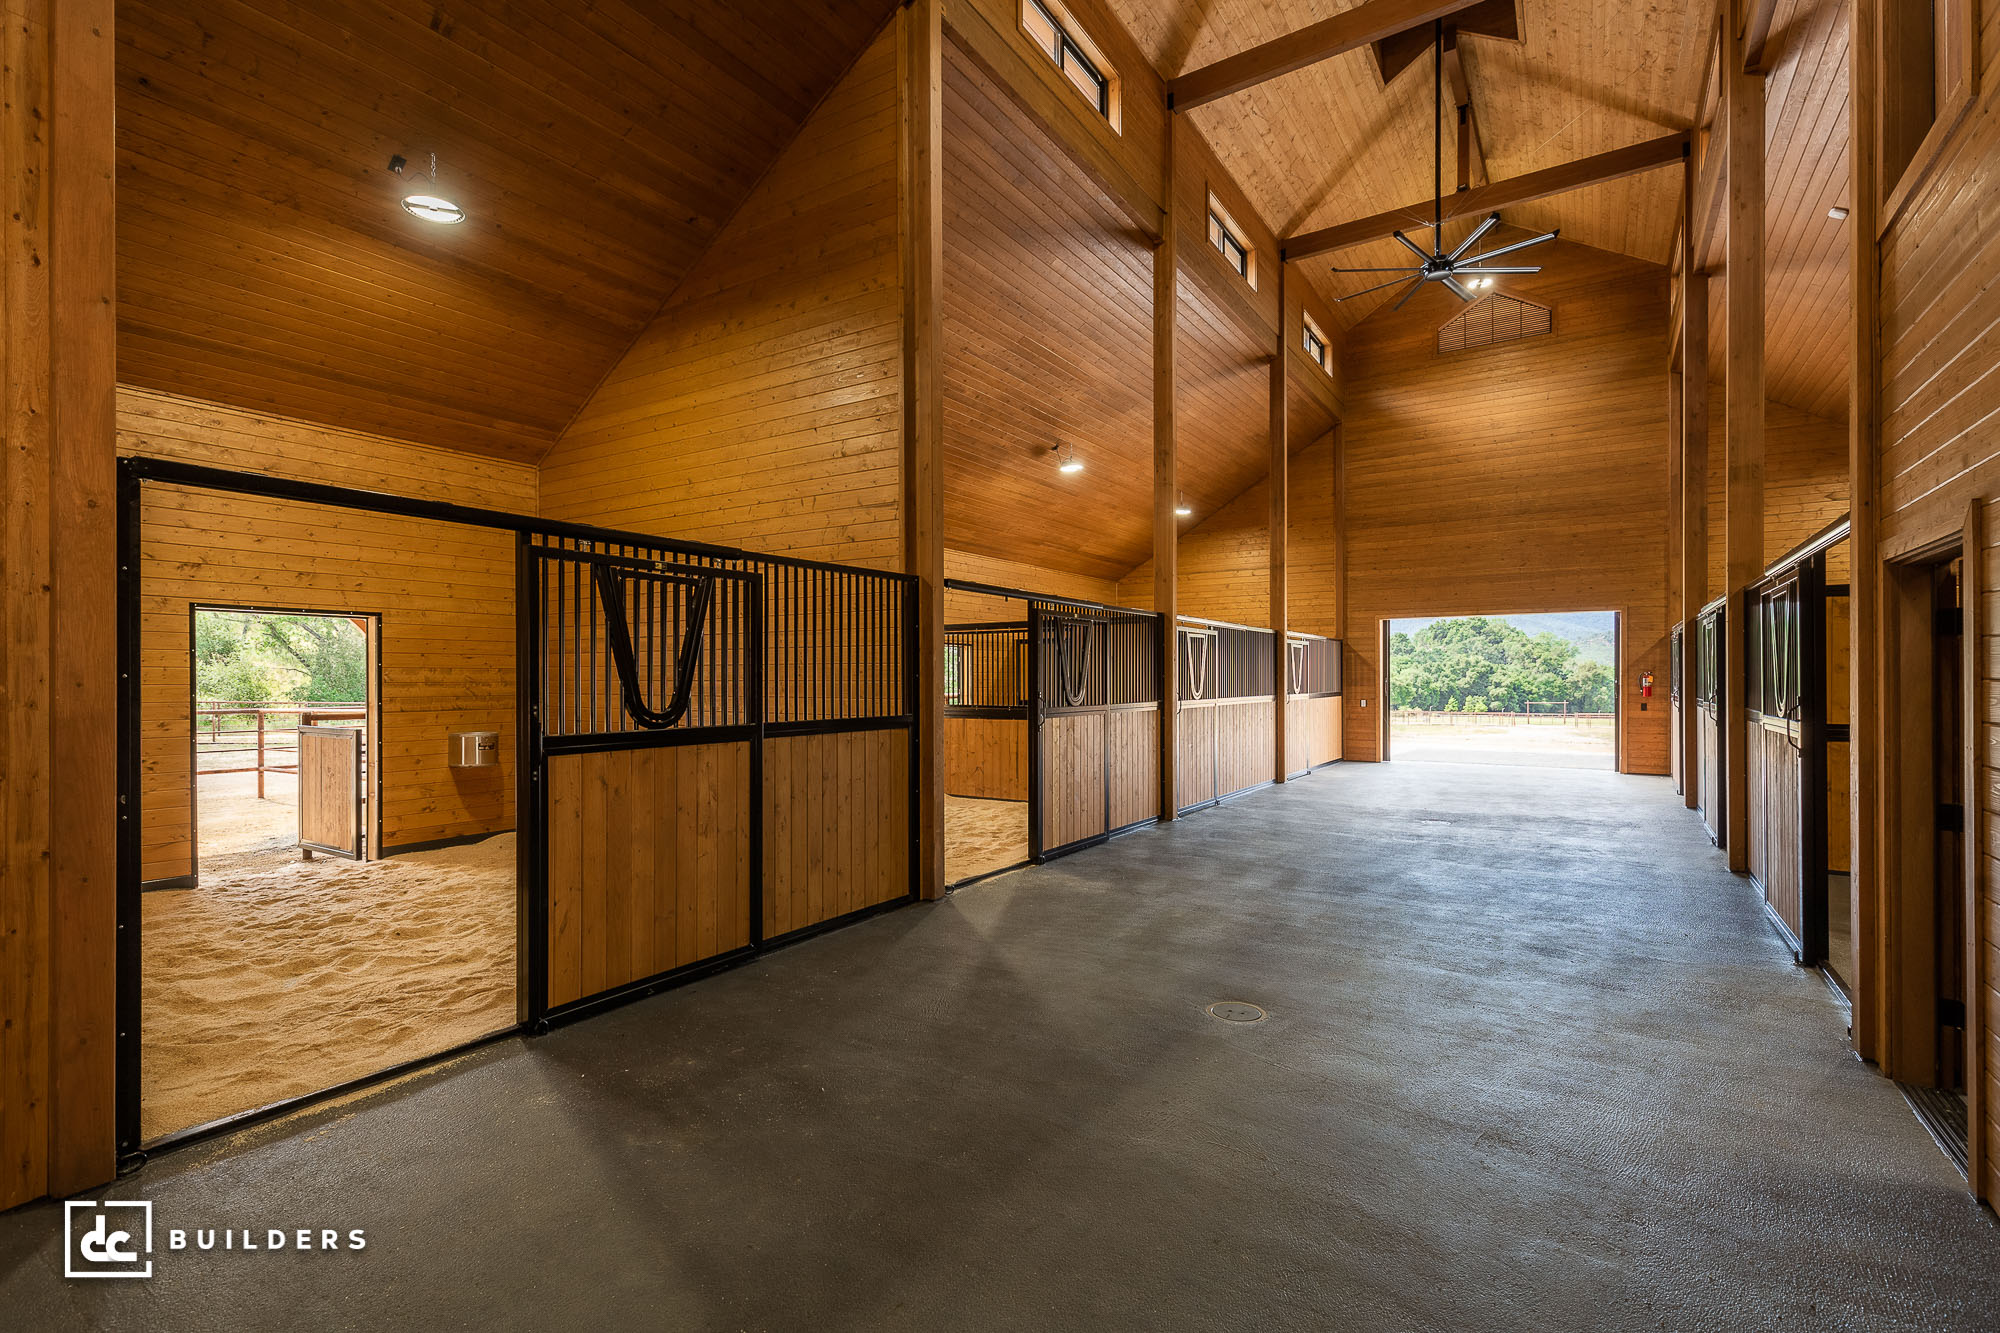
BarnsHomesCommercialGalleryAbout UsContact Us

Archive for the ‘Horse Barns’ Category

Choosing the Right Lumber for Custom Wood Projects

Posted on: 1 Comment

Lumber for Custom Wood Homes

Know your wood

Whether you’re building a deck or a lavish stable, decisions about building materials are critical to the durability and appearance of the project. As a general rule, the long-term performance of wood, or composites, weighs heavily on material quality and decay resistance, either natural or that imposed by chemical treatment. A quick review of the following basic materials, both the advantages and downfalls, may aid in the decision-making process for your next project.

  • Cedar

Prevalent in the Pacific Northwest, cedar trees have developed self-protective qualities that allow the trees to fend off insects, rot and temperature related stresses. That makes cedar very useful in structure building where humidity, temperature, and cracking are a common problem. Cedar is not typically used as a structural component in construction because it is much weaker than its counterparts; redwood, cypress, or pressure treated lumber. Cedar is best used as the decorative, exposed portions of a project. Cedar is usually about twice the cost of pressure treated lumber but only half as much as redwood.

  • Redwood

Similar to cedar, these towering giants also have chemicals within their foliage and bark that make them resistant to fungal disease and insect infestation. Redwood’s internal cell structure also allows them to hold large amounts of water and air in pockets, so it works well for insulation and thrives in high-moisture areas. Redwood is famous, and expensive, due to its rich red color. Left untreated, through stains and sealers, the wood will turn to dull grey. This material is also only typically used on exposed portions of structures due to its cost, nearly four times as much as pressure treated lumber.

  • Cypress

Cypress is found in common and premium grades, localized mostly in the Southeastern U.S. It’s a tan, reddish color, somewhat lighter than redwood, and is equal to redwood and cedar in its resistance to insects and rot. Cypress is typically used for both structural and ornamental purposes but it’s certainly not a cheap material. While less expensive than redwood and cedar, cypress is really only affordable if you live in the Southeast – the farther you are away, the more expensive it becomes.

  • Pressure-Treated (PT) Wood

With a more pronounced grain than cedar, redwood or cypress, PT lumber is made mostly of southern yellow pine, and occasionally fir. PT wood is most commonly used as the structural material for projects and occasionally with the right stain, can be used as the decorative material as well. The wood is treated with chromated copper arsenate (CCA) which is used as an insecticide/preservative, as well as simple water repellant. Arsenate has been reported as potentially toxic to humans and animals and it is advisable to determine the type of treatment was used before purchasing the lumber. Less toxic, chemically treated lumber is now available that doesn’t contain arsenate, but is slightly more expensive compared to the bargain price of PT lumber. When working with PT lumber, of any kind,  it is recommended to wear gloves and a dust mask.

  • Tropical Hardwood

In the past ten years, tropical hardwoods have become more abundant, but still remains one of the most expensive building materials, by far. The reason for the added cost is due to the shipping costs and their durability that eclipses both redwood and cedar. These hardwoods have a life expectancy of 40 years, minimum, and are resistant to insects and decay. Other than the cost, other drawbacks include: most tropical hardwoods need to be predrilled for fasteners and there are major ecological concerns as to the harvesting of these materials.

It’s a good idea to check out the local building codes for your area before starting a project. No matter what type of wood you decide on, it’s important to take into consideration the size of the structure, use, climate, and soil type before building any structure.

Barn Maintenance – Removing Snow From the Roof

Posted on: 1 Comment

Barn Maintenance - Snow Removal

Year after year, from small barns to huge stadiums, roofs collapse under the immense weight of snow buildup. It’s a real threat, especially for folks in the Northeastern US, but the solution isn’t always very clear. With most insurance companies only covering damage caused by snow and ice and not barn maintenance, several options are available for property owners to clear winter roof accumulation, ranging from expensive and safe to cheap and dangerous.

Hire a roofing company

Typically, roofing companies will clear off snow from a building roof for around $400-$500 dollars, depending on the size of the structure and the level of access. While this is the safest option, it can be somewhat pricey and your roof may require a few treatments throughout the course of a winter.

Buy a roof rake, or two

When possible, use a roof rake – which is just a rake with an extremely long handle available at home improvement and hardware stores.  Obviously, this only works well with single level homes and most times two rakes need to be attached together to reach all the snow/ice buildup.

Climb up there – but be careful

First of all, if you have a slanted roof don’t even attempt this before you have the proper fall prevention systems, such as covers, screens, railings or guardrails, in place. Roofs always pose a fall hazard; add in snow and ice and the danger of falling increases exponentially. In addition, if the weight of the snow weakens supports, your additional body weight could be enough where a collapse could occur that was potentially avoidable.

No matter the route you choose, it’s a good idea to keep the following advice in mind:

  • Never spray water on the roof to try to clear the snow—it’ll just freeze and make a bad situation worse. Instead, use a deicing chemical.
  • If you must work on a roof, wear fall protection (a full-body harness, lanyard, connectors and appropriate anchorage points) and slip-resistant footwear.
  • Never sit on, lean against or step on a skylight lens or any covering placed over a hole in a roof
  • Heat loss from buildings helps melt some of the snow on roofs, so unheated buildings or portions of buildings are more at risk of snow buildup.

The DC Building Commercial

Posted on: 3 Comments

For today’s blog post we wanted to share a video we produced a while back to give everyone an idea of what the process for building a custom barn looks like. We also specialize in general contracting for building almost all things of quality wood construction. We take great pride in our work, enjoy the video!

Press Release: Custom Homes, Barns Showcased on New Website

Posted on: 1 Comment

Released by Webwire on November 15, 2011

DC Building Showcases Dreamy Custom Wood Built Homes on New Website

Boring, Ore., November 10, 2011 – Most people have dreamed of owning their own wood built, cabin-style home hidden away from the white noise of the city – lazily relaxing the day away in front of the fireplace, sipping hot chocolate, or maybe hot buttered rum – getting lost in your thoughts while gazing out the window watching the horses run in and out of their own custom built equine home. I guess you could say DC Building is in the business of making dreams come true.

DC Building is a general contracting firm in Oregon that has become experts in their industry for building custom wood homes, barns, commercial buildings and beautifully designed equine facilities.

“Our mission is to provide excellence in workmanship and customer service. Our custom construction service comes with the assurance that we have dedicated ourselves to providing the very best customer service and overall excellence in everything that we do,” promises Owner Bret Loftis.  “We will build it faster, better, period – and we have a four page list of references to prove it,” he adds.

DC Building has set themselves apart from the competition with their keen eye for detail, sound approach to construction and insistence on standing behind their work – offering a three year guarantee on all labor and craftsmanship.

They recently launched a new website to showcase their gallery of must-see custom wood homes, garages, commercial buildings and equestrian facilities. These past and current projects are so gorgeous you’ll have to see it yourself to truly comprehend their true beauty.

Visit their newly designed website and gallery at www.dcbuilding.com.

Contact:

Bret Loftis
DC Building Inc.
Cell 503.956.1851
Fax 503.863.3838
www.dcbuilding.com

Saddle Up Partner!

Posted on: 1 Comment

Saddle care tips.

You found your dream home, had a custom horse barn built, acquired a horse you LOVE – Now….it’s time to ride!

Whether for sport or recreation, you don’t have to be a horse lover to know that horseback riding is an exhilarating experience anyone could enjoy. As you know, one of the most fundamental pieces of equipment for horse riding is the saddle.

Saddle maintenance doesn’t need to be another tiring chore in your long list of horse barn responsibilities. However, it is important to address a few things to ensure the safety of both you and your horse. Like cleaning the barn, a little routine maintenance will keep things in order.

I suggest cleaning your saddle on a monthly basis to prevent any damage that might come from long-term neglect. Relative to how much you’re actually using it of course. Saddles will last a long time if you keep them clean and oiled – equally, they will deteriorate in a hurry if you’re not taking proper care of it.

Straddle your saddle (say that 10 times fast) on a fence, or if the weather’s bad, something similar inside your horse barn. With a bucket of water and mild soap use a medium to soft brush and give it some scrubbing. Be sure you don’t scratch or tear anything.

If you can, it’s even better to take apart the saddle completely and scrub it thoroughly. This helps prevent mold or dirt from building up in those impossible to reach locations. Unattended to filth can create very unpleasant smells, and in worst case scenarios, make your horse sick. So don’t forget the nooks and crannies.

While the saddle is disassembled and you’re scrubbing the leather, soak the metal pieces for a few minutes – don’t soak the leather!

Once the saddle is clean, including the underside that touches the horse’s skin, apply a leather protectant to the leather and oil all the metal pieces. Spread the oil evenly so it doesn’t dry in drips and runs. Then dry off the saddle and metallic parts and reassemble.

When you’re done, be sure to pick up the cleaning area to keep your barn safe. I suggest dedicating a storage cupboard in your horse barn to keep all your saddle cleaning supplies.

Then saddle up and get a ride in – you know you want to!